Looking to remove scratches from wood and fill damaged spots on your furniture pieces or decor accessories?
Try this quick and easy walnut trick to restore your wood treasures without sanding or staining.
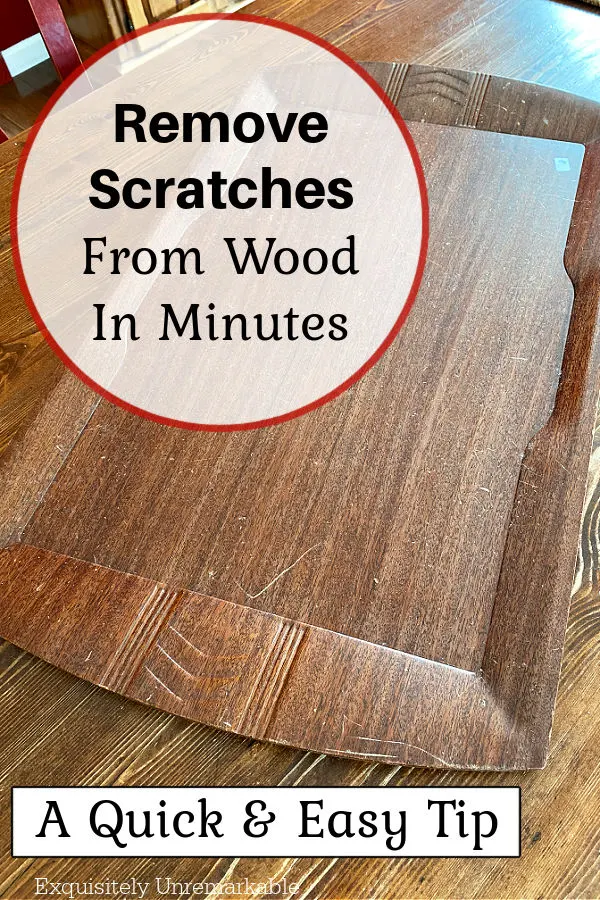
It was a lovely piece, lightweight and large.
And although it was completely scratched, I mean, it was icky, and definitely not in any kind of condition to use for service, I thought it'd make a great palette for some kind of artsy wooden sign.
Plus, at two bucks it was a bargain.
So I brought it home.
Of course, if you're familiar with this tale, then you know when I turned it over, I discovered that it was a vintage Toastmaster tray and suddenly I didn't have the heart to paint it.
Oh, but the scratches. Not good.
That's when I brought my dilemma to you, to ask for advice.

And boy did I get some.
In the comments, on Facebook and Instagram, lots of opinions.
Except for a few voices who told me to leave it alone, display it the way it was or refinish it, the response was overwhelmingly in favor of paint or decoupage, to cover the damage, which in all honesty, was my original plan.
However, it was the two or three of you who suggested that I "start crushing walnuts" that got my attention.
Wait. What? Walnuts??
I was told that it could not only cover the scratched areas, but fill the scratches, as well.
I was intrigued.
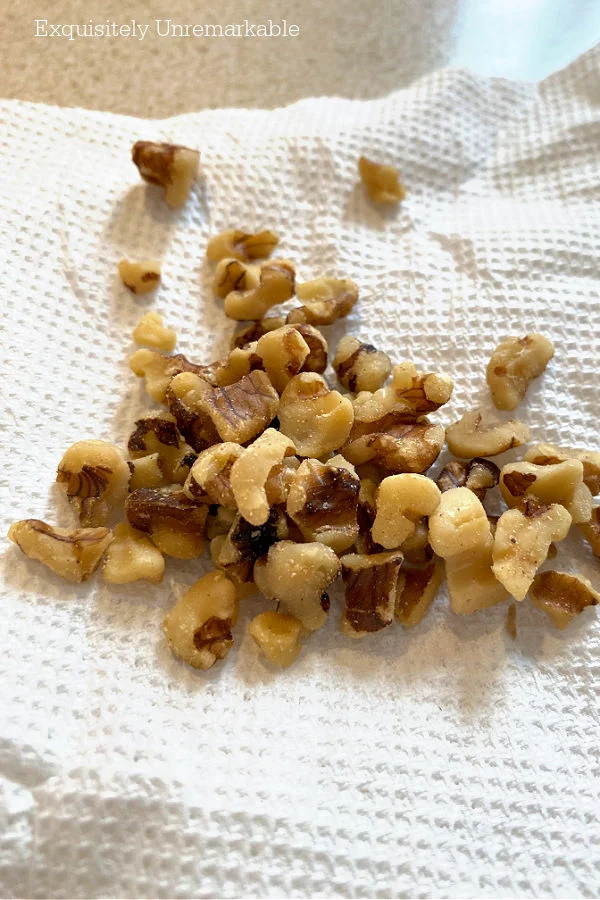
And would this simple solution really work? I needed to test it.
After all, the tray couldn't possibly look any worse.
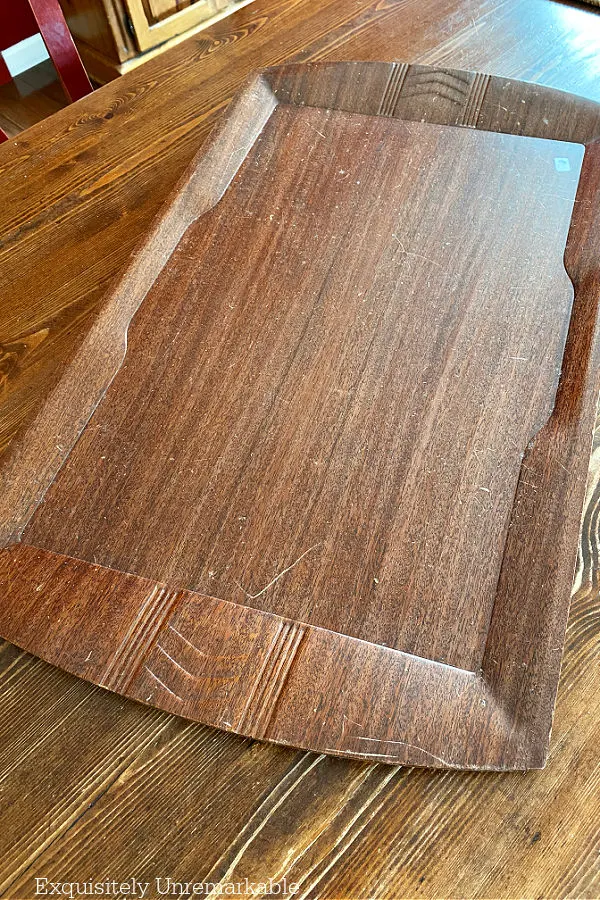
Plus, I had a bag of walnuts in my kitchen pantry. I had nothing to lose...other than a damaged wooden surface.
How To Remove Scratches From Wood With Walnuts
Ok, so this was super easy, and ridiculously quick. It worked without sandpaper or compounding mud or matching stain colors.
I used it on a wooden tray, but this would work on any type of wooden furniture piece. Think about a dining room table with unsightly scratches, a nightstand, chair or even a wood floor with signs of wear.
Supplies for this DIY:
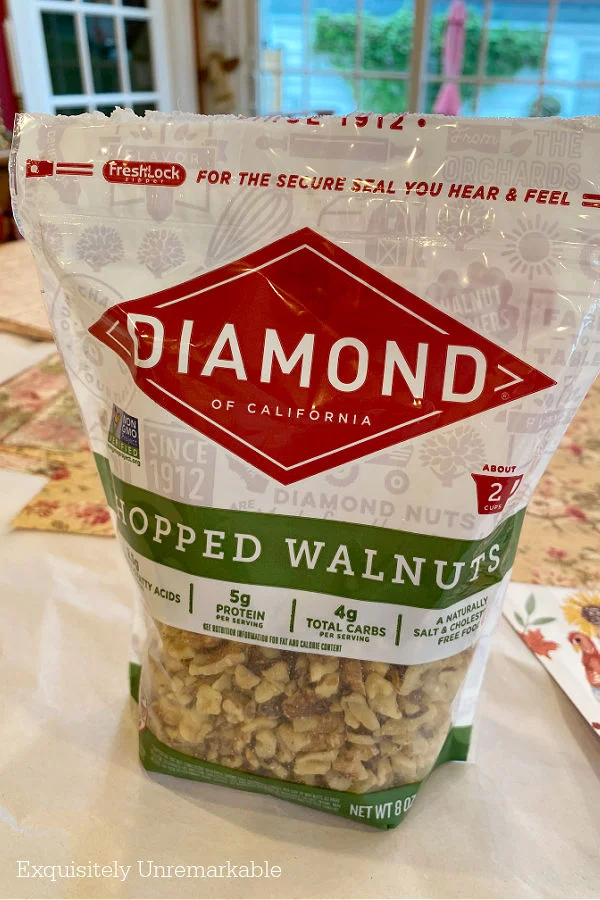
- Chopped walnuts
- Paper towel or soft cloth
- White vinegar
- Gloves, if you like
Step 1: Wipe Down The Wood
I wanted my tray clean and free of debris. I didn't want to wet it, so I just used a paper towel and dusted it off.

If your wood is really dirty or has a sticky spot you can use water and vinegar in a spray bottle to clean it. However, I would make sure the wood was totally dry before I moved on to the next step.
Step 2: Shell and Crush The Walnuts
I had a bag of crushed walnuts on hand. If you only have whole nuts, you'll need to shell them and then break them into small pieces.
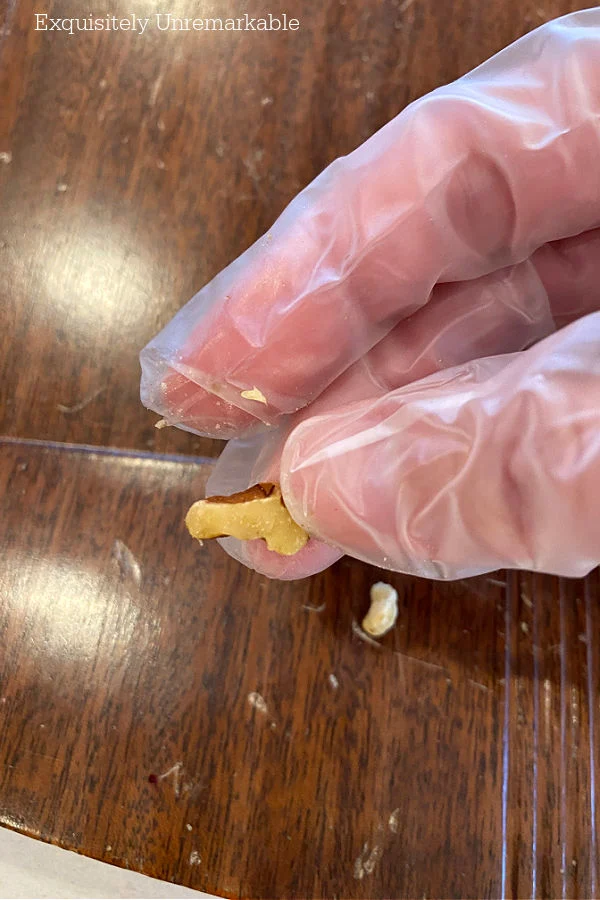
I went even further and peeled away some of the skin before I got started.
I wanted a little bit of the walnut meat to be exposed when I placed it on the tray.
Step 3: Rub The Walnut On The Wood
I decided to begin with a small spot on the top of the tray, by the handle.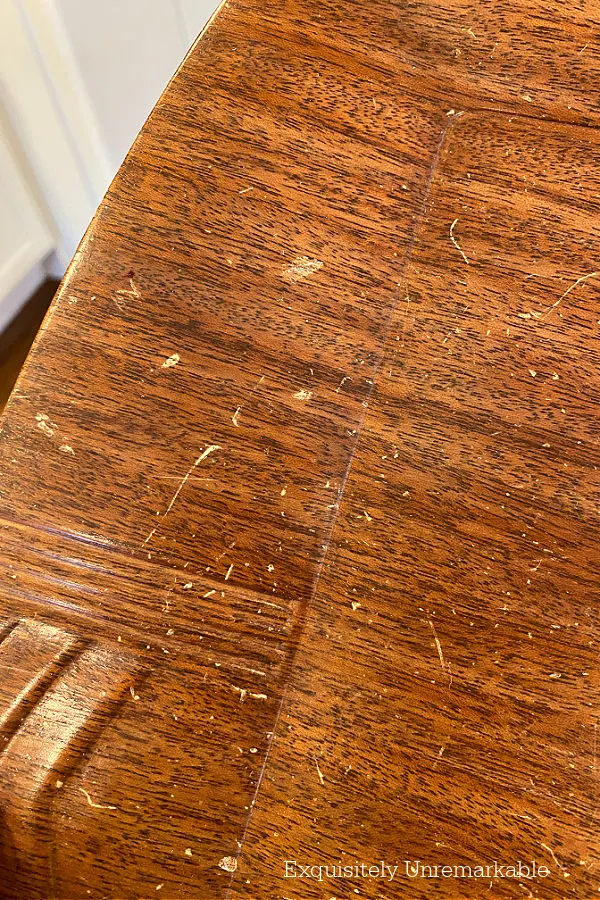
Then I set my sights, albeit skeptically, on a scratch and simply started rubbing the walnut over it, diagonally, against the grain of the wood, so that the oil would get into the now unfinished space.
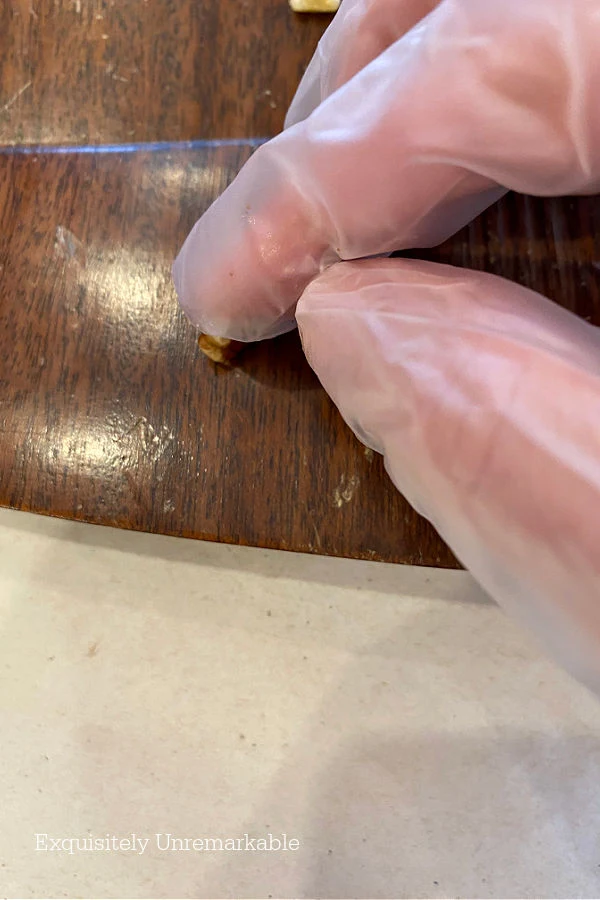
Seriously. It was like I was using an eraser.
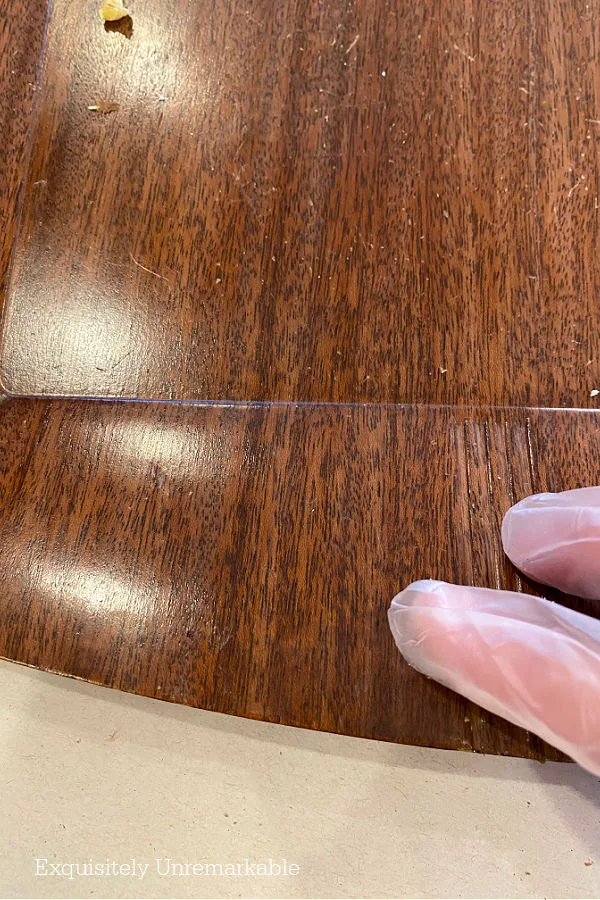
I was shocked.
And amused. It became a game. I just moved from scratch to scratch, smiling, as my lovely vintage tray came back to life.
Step 4: Let It Set and Wipe Away The Excess
After I hit each mark with the walnut, I used my finger to push the oil into the wood a bit.
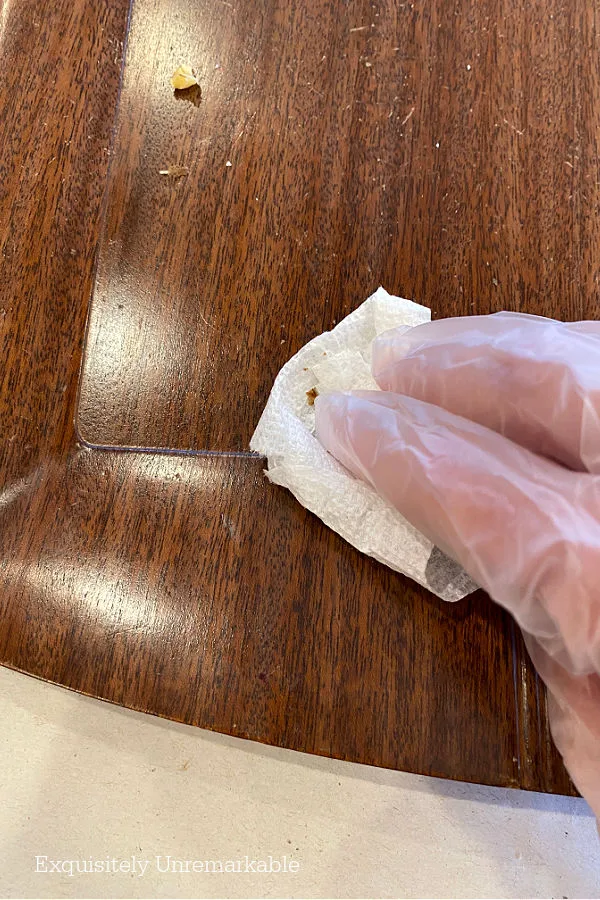
I repeated steps 1-4 on both the front and the back of the tray.
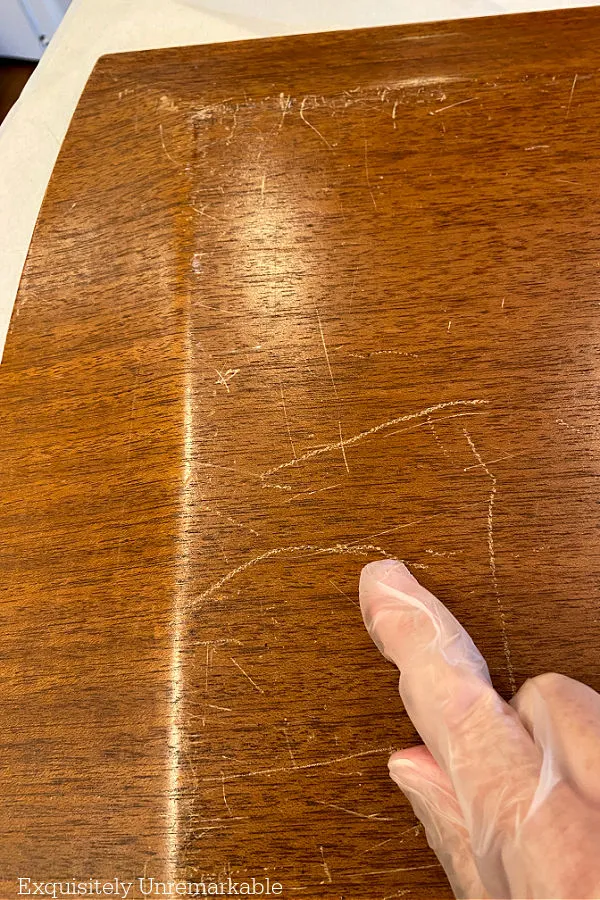
I figured that since the Toastmaster label was on the back, it was just as important for that side to look spiffy.

When I was done, I was absolutely speechless...which, if you've met me in real life, or read my posts, you know that's a very rare occurrence.
But I was truly shocked.
That tray, that two dollar, thrift store throw away, the one that I was going to paint and paper over, looked brand spanking new.
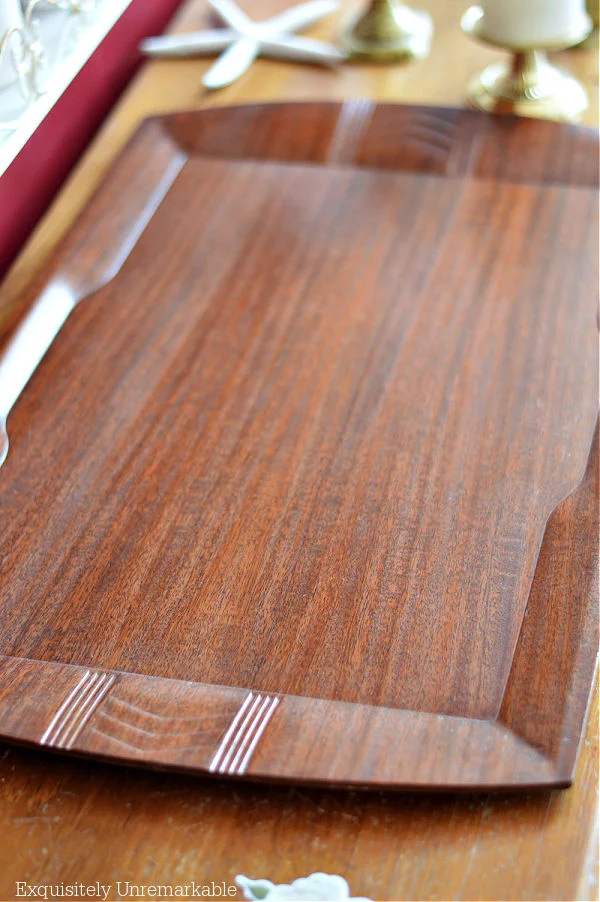
It was a dramatic before and after.

Thanks to a few walnuts.
And a few friends who shared their DIY knowledge with me.
I am forever grateful.
And so is my new show-stopping tray, I'm sure.
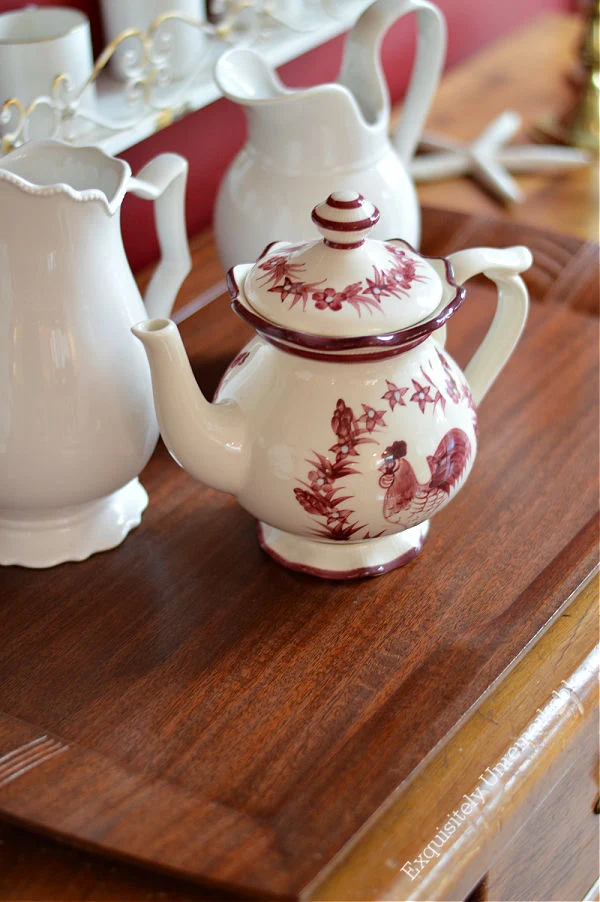
How fabulous.
Here are a few quick things I wanted to mention before you go:
- Walnut oil would probably work in the same way, although I haven't tried it.
- Apparently, walnut oil hardens into a satin like sealer and that's how it fills minor scratches.
- You can polyurethane over it to seal it in, if you like, however it's not necessary.
- I am not allergic to walnuts or nuts of any kind, but clearly if you are this is definitely a DIY to avoid.
- Walnut is also a food safe oil, but again, one to avoid if you're allergic to nuts.
So if you'll excuse me, I'm off to remedy that.
😉
Have you heard of the walnut trick?
I'd love to know!
Happy DIYing, Friends!


Wow! Firstly, I’m so, so glad a way was found to restore the piece to its original condition! Secondly, I have a bag of walnuts….I’m going to be busy! Thanks for sharing!
ReplyDeleteIt's crazy, right? I'm so glad people suggested it! It was so easy and yes, it gave me a way to restore the tray which was really the best, and prettiest, option! Good luck with your walnuts!!
DeleteWow Kim this is amazing. I never heard of this. It looks beautiful. This is a new one for me. Glad to know this. Thanks for sharing. Hugs. Kris
ReplyDeleteTotally new to me, too, Kris! THIS is why I love blogging. People are so willing to share. I can't wait to "walnut" a bunch of other stuff around here. HeeHee!! It's going to be a rainy weekend and like I said, I've got a bag of them! I hope you have a great weekend!
DeleteGreat DIY tips for re-finishing that tray. It looks fabulous! So nice that fellow bloggers can share these wonderful tips.
ReplyDeleteThanks Linda! I’m so grateful for the shared tips. They worked so well and now I have a beautiful “new” tray!
DeleteHave a great weekend!
Wow! This is definitely a new one for me too! I remember reading some of the comments about your tray and wondered... fabulous that you tried it out and found it to be so amazing! Now, indeed, I've got some wood pieces that could use some walnut love!!!! Thank you!
ReplyDeleteI just love learning new things, don’t you? This is a good one, too. It’s probably a good old, standard kind of trick that was put aside when commercial products came out. I bet my mom and grandmothers knew about it. I’m just glad I know about it now. Thanks for popping by Marilyn! I hope you have a lovely weekend in your garden…if it’s still warm enough to enjoy it in your neck of the woods.
DeleteAnother wow! Almost unbelievable - and your tray turned out beautifully! I have never heard about Toastmaster trays so I looked it up. Gosh - they are pricey!! You definitely scored! Congratulations on a great 'steal' and an amazing method to save wood!
ReplyDeleteIt really is unbelievable, Kristine. While I was doing it, I called my husband away from his desk to watch and he was as blown away as I was. So far it still looks fantastic and if Google is right it will just continue to get better as the oil hardens up...that I am waiting to see!!
DeleteNever heard of the walnut trick, but I'm going to try it out for sure. It looks pretty easy. Your tray turned out beautifully Kim!
ReplyDeleteIt was so easy, Florence! It took me just a few minutes to do the whole tray and it's been a bit and it's still super shiny.
DeleteWow that is amazing. Your tray is now a beautiful treasure! I cannot wait to try it.
ReplyDeleteI'm honestly blown away, Cheryl. I never expected it to work that well. I'm so impressed!
DeleteWow, Kim. I had not heard of this hack. I am on the hunt for walnuts as I have many vintage wooden pieces in my home. Thanks for sharing.
ReplyDeleteMy pleasure! Just passing it along, since someone so generously shared the tip with me. I think there my be a run on walnuts now...haha!!
DeleteOh my word! I've heard about this before, but didn't really believe it. This is incredible! Thanks for showing the before and after.
ReplyDeleteI think it’s one of those oldies, but goodies, that’s been forgotten. I’m glad someone shared it with me. It worked really, really well!!
DeleteWho knew?! Now I’m going to go around looking for scratches with a walnut in hand!!
ReplyDeleteSO funny, but I feel the same way! Right now I'm looking at the server that the tray is sitting on. Oh my, I need to take care of that immediately!!
DeleteDo you think this would work on wood where a cleaner removed the stain and varnish?
ReplyDeleteI'm honestly not sure, however, it's so simple, I would give it a try. The walnut oil certainly wouldn't hurt the wood.
DeleteOh my goodness, Kim. This is crazy wild. The tray looks brand new. I have never heard of trying walnuts but going to give it a shot.
ReplyDeleteI agree, Tammy!! I was shocked. It was like magic and now I'm looking around my house thinking I should buy stock in Diamond Walnuts!! Ha!!
DeleteI have heard of the walnut trick but never tried it. So good to know it works. The tray looks beautiful!
ReplyDeleteI think it's an oldie, but goodie, Ann. I'd never heard of it, but you can be sure that I won't forget it about now!
DeleteThat is amazing. I have heard of this before but have never tried it. Good job and now a really piece preserved that has a special meaning. xo xo Diana
ReplyDeleteHi Diana! I keep thinking this is one of those tips my mom or grandmother certainly knew about, but in an age of commercial cleaners, it got lost. I’m glad someone shared it with me. It really did the trick!
DeleteAwesome trick! - Briana from Texas
ReplyDeleteThanks Briana! I'm going to have to keep a bag of walnuts in my craft closet from now on. Haha!!
DeleteWell i`m shocked who would have thought I`m going to try this on my Art Deco dressing table I inherited instead of the furniture wax fillers I was going to use,, thanks Kim for sharing
ReplyDeleteMarilyn, I was quite the skeptic, but it worked out so well. It was easy to do and it really brought my tray back to life.
DeleteI remember hearing about this nut trick...May try this myself. Your tray looks great.
ReplyDeleteThanks Jan! It’s a neat trick. I was pleasantly surprised and it was so easy.
DeleteI'd heard this but never seen it in action before and never tried it either. Wowza! It looks great. This is so good to know, thanks.
ReplyDeleteIt was totally new to me, as well. So glad a reader suggested it, it really was a magic trick! Happy weekend!!
DeleteOh my goodness... I am sharing this with my husband. We had no idea ... this trick is NUTS!!
ReplyDeleteKim,
ReplyDeleteOkay, you also have me speechless and that is a hard thing to accomplish ....WOWZA!! I think I need to go and buy a bag of walnuts....The tray is gorgeous...I had one a very LONG time ago and got rid of it...Kicking myself now....big time!!
Hugs,
Deb
Wait!!! Whaaaaat!!! I'm going to have to remember this one. Friends of ours have a big walnut tree growing in their back garden. I'm going to have to raid their stash soon.
ReplyDeleteThank you, can't wait to try this. So glad I just discovered your site, lots of great info. I love the little rooster teapot, where did you find it?
ReplyDeleteThanks so much, Karin! I can't believe how well it worked. It's my go to wood fix now. The teapot was found in a local thrift store. I looked online, even did a Google image search, but can't seem to find another one to link to for you, but it's from Heartfelt Kitchen Creations. Hopefully you can find one and hope to see you in the comments again soon!!
Delete