Adding pom pom trim to your existing curtain panels is a great way to add a little cottage style charm to your decor. And it's easier than you think.
Sew or no sew, it's a DIY you can complete in under an hour and I've got all the tips.
Once I decide on a room design, I stick with it for a long time.
In some cases, decades long.
However, I also enjoy changing my decor. Sometimes on a weekly or even daily basis.
Now that might sound a little nutty, but decorating brings me joy. It's my passion and my home is my palette.
Plus, I find the creative processes involved in making home decor crafts to be very relaxing.
So how do I manage to change things up frequently, without really changing them all?
Well, my kitchen, is a great example, it looks mainly the same as it did 20+ years ago, when we added the room.
Same tables, cabinets, countertop, bisque appliances, paint colors and the same flooring.
But. It looks totally different, due to a few tiny swaps.
Including the red curtain panels I made in the fall of 2020.
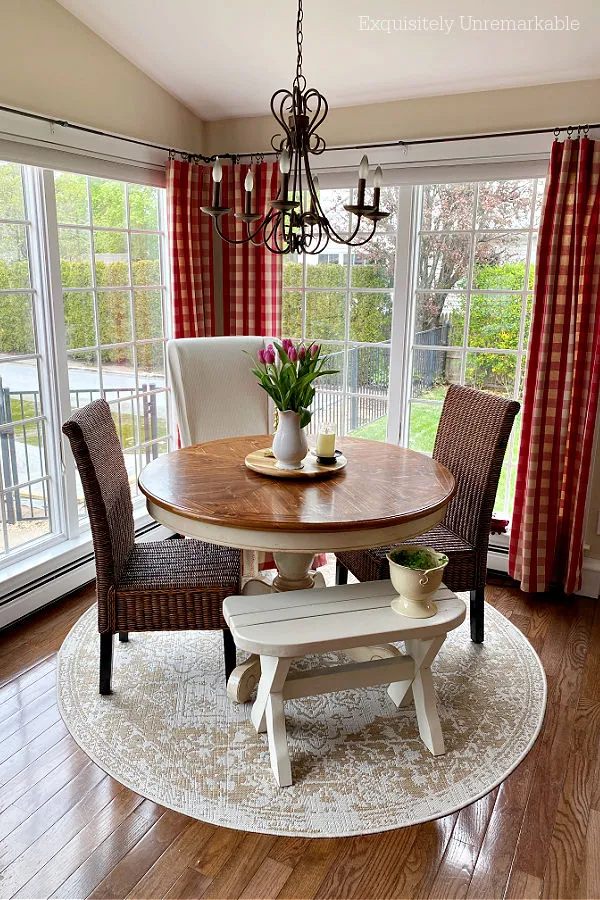
Before that, I'd had valances on the windows. Lots of valances over the years, but never panels. And once I added them, I was smitten.
They totally changed the look of the room. It was more sophisticated and polished. I loved the clean and simple lines and all that delicious fabric.
I'm a wee bit obsessed with fabric when it comes to home decor.
Although, this week, I found myself ready for a change.
Oh don't get me wrong, I wasn't going to ditch the panels, I just wanted to add a little extra pop. Finish the edges by adding a charming trim.
The new family room was decked out in it and the view from there peeks into the kitchen. So it felt natural, almost necessary, to carry them into the dining nook.
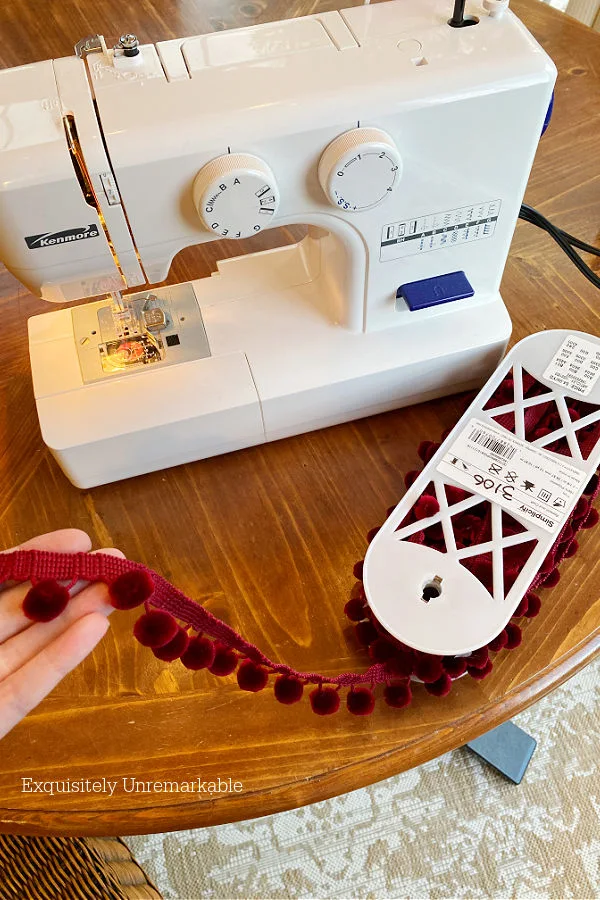
And I was able to grab several yards of red ball fringe from JoAnn's on sale for a song.
How To Add Pom Pom Fringe To Curtain Panels
Ok, this is how I added my pom pom trim. Keep in mind, as I've mentioned many times before, I was not classically trained (if that's even a thing) when it comes to crafting.
I have some basic 8th grade home ec skills, but overall, I do things the "Kim" way... and it works, but it may not be the "right" way. Just saying.
My supplies:
- Pom pom fringe
- Scissors
- Plastic sewing clips
- Sewing machine
- Fusible web tape and iron (if you don't sew)
- Measuring tape - this 2 pack is awesome
- Thread - I only use this kind
Step 1. Measure
Before I started, I measured the length of each curtain panel to determine how much trim I'd need. I only wanted to add trim to the inside seams of my curtains, but you could add it to both side and/ or the bottom if you like.
Step 2. Pin Trim To Curtains
Since my curtains were already hanging up, I decided to use their position to my advantage. I decided to clip the trim onto the curtain panel edges, while they were still on the rod, instead of removing them, measuring them, and the trim, and then pinning/ clipping them all together on another surface.
Too much work.
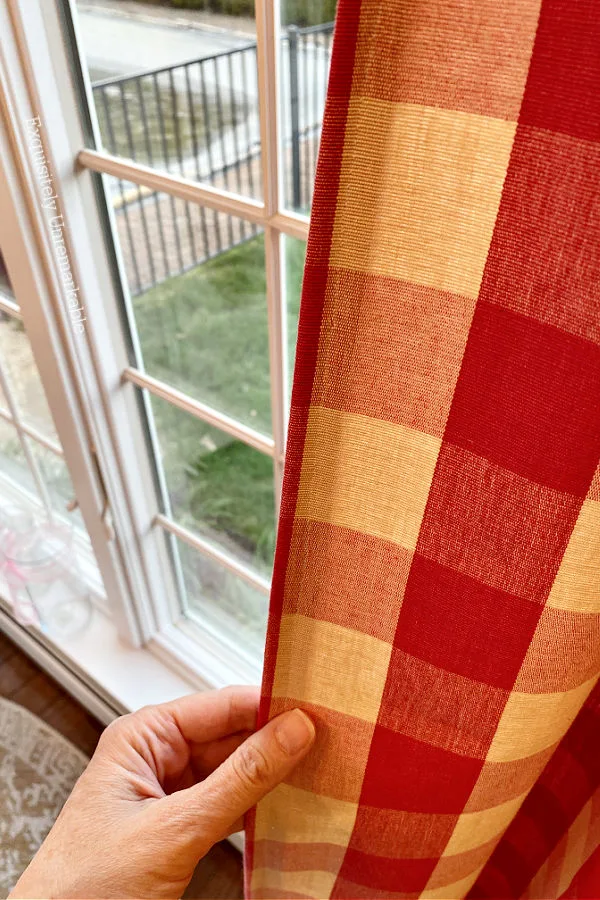
This was a simpler process.
I simply clipped the pom pom trim to the edge of the panels, from top to bottom.
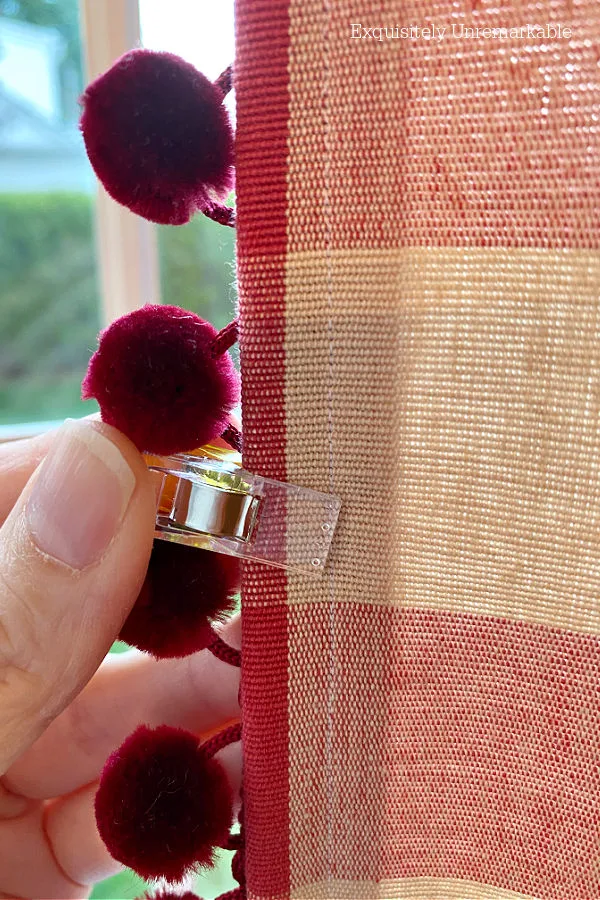
A little design comment here. I placed my pom pom trim behind the panels. Traditionally, that decorative strip would go in front. Or it would be nestled between the seams to hide.
Since my panels were already made, that wasn't an option.
I do add it to the front sometimes, but in the kitchen, with these bold checks, I didn't want to add another prominent line of color.
I was craving a dainty accent. Of course, you can place yours wherever it makes you smile.
Step 3. Cut Excess Trim
When I'd pinned/ clipped the trim in place, I snipped the excess off at the bottom. I did leave about an inch extra, in case...well, in case.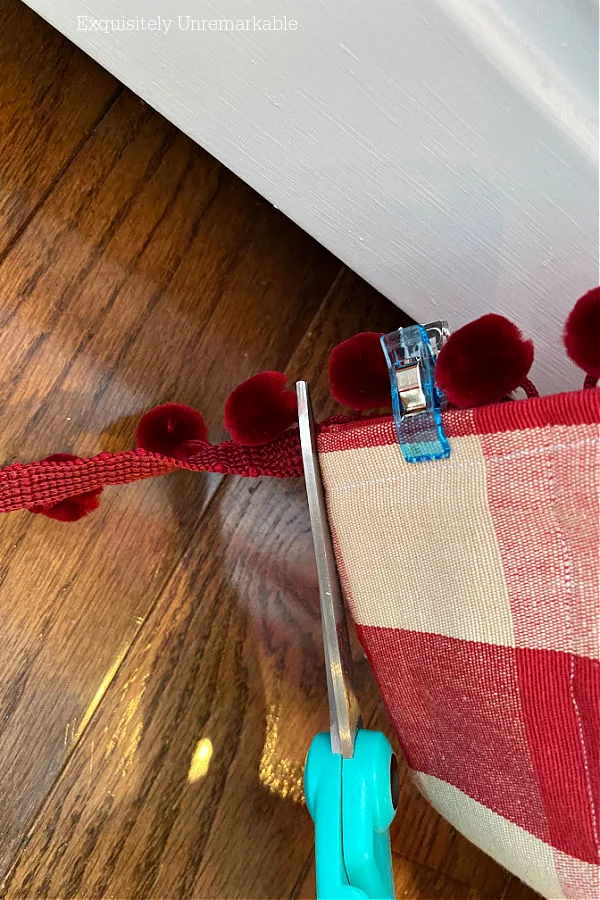
Step 4. Mark Your Pleats
Now it was time to take the panels off the rod.Speaking of, you can catch a glimpse of my painted curtain rod center bracket in this picture.
See..it almost disappears, even close up.

So I made sure to mark where each ring clip was placed with a sewing clip.

It made the process of hanging them back up so much easier.
Step 5. Attach Pom Poms
Time to sew.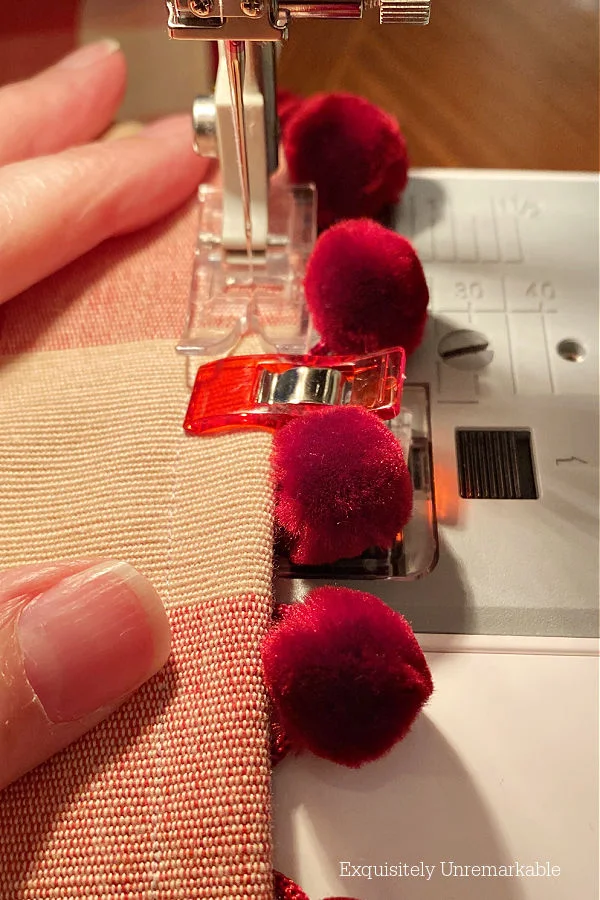
For that, I used my handy dandy sewing machine. Lately, it's been behaving.
Perhaps, because I've learned a few tricks on how to use it properly, but either way, it was quick.
I stitched the trim on from the front side of the fabric, rather than the back, since I wanted to make sure I could only see the pom poms.
Again, I did my way.
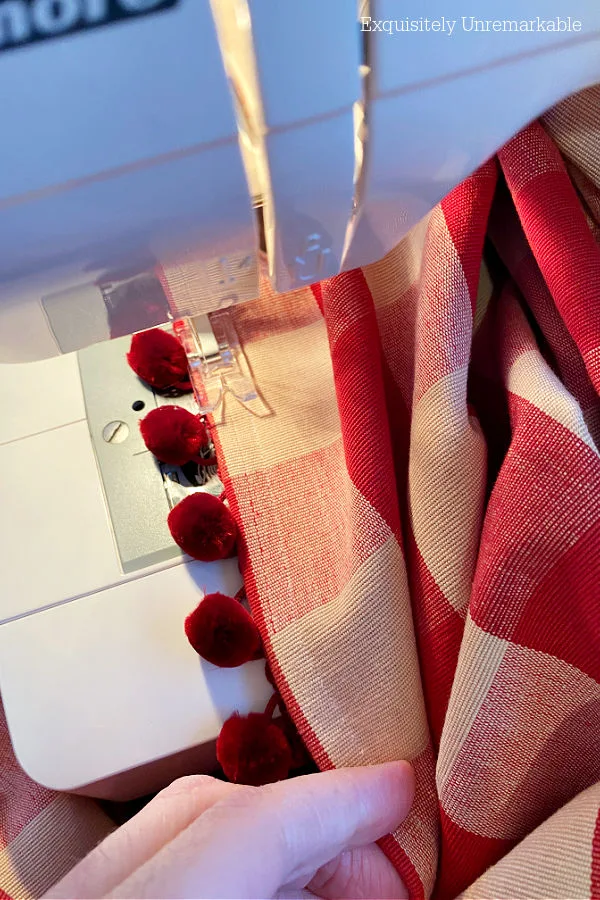
That did make sewing two of the panels a little awkward, since I had to jam the fabric in a tight spot to stitch, but I went slow and it worked out fine.
If you don't sew, see my tips below.
All told it took me about an hour to complete 4 panels.
But. So worth it.
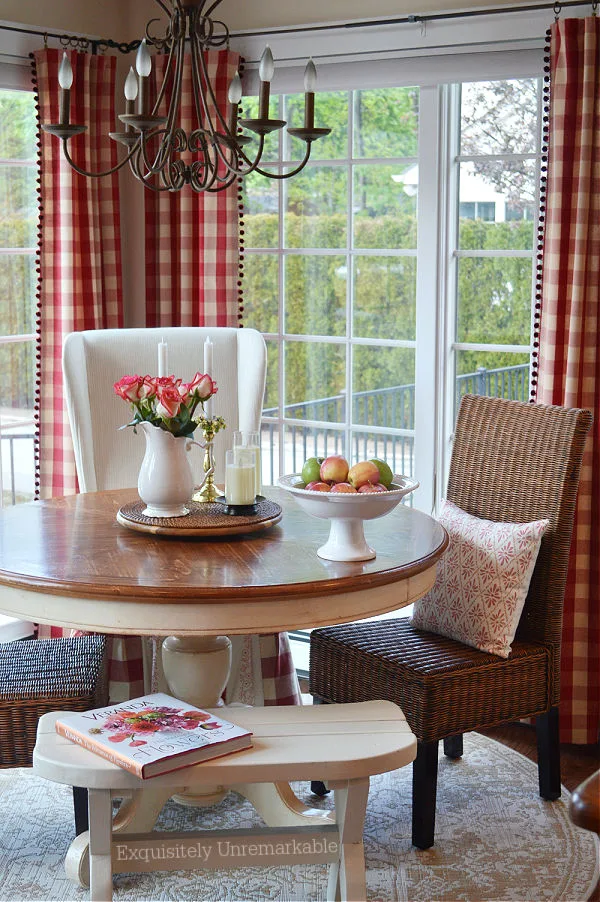
Do you remember the before?

Not a big change.
And yet, there's a huge difference. It's a classic case of the decorating magic is in the details.
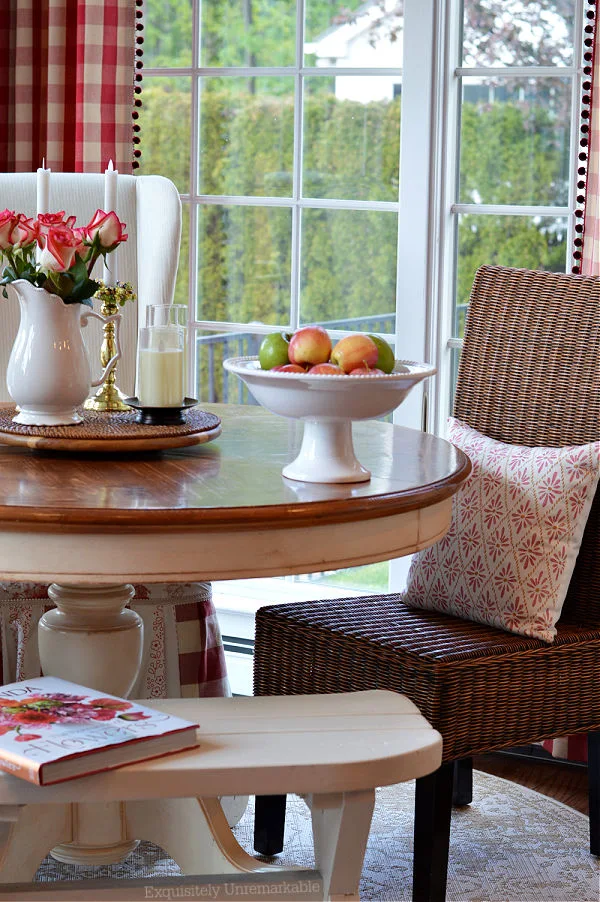
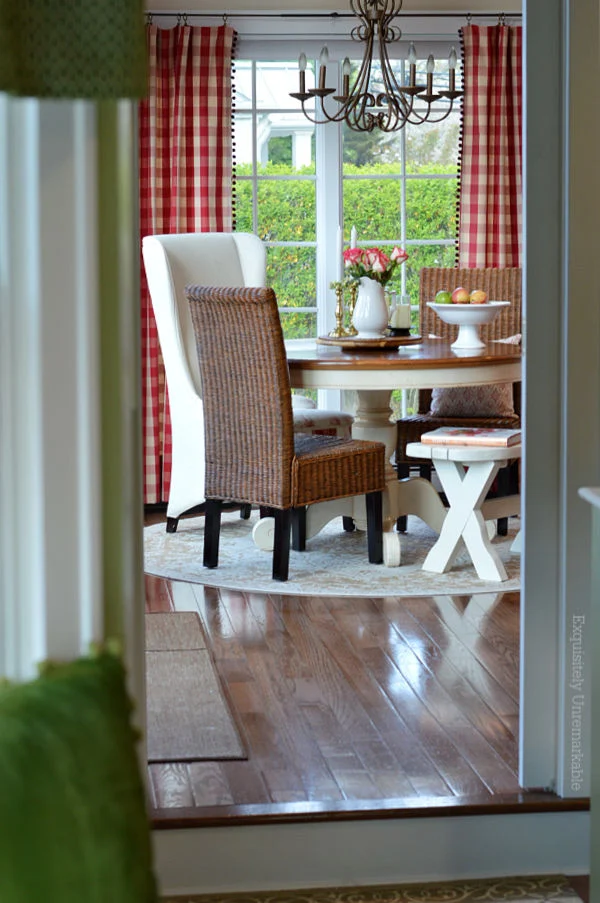
It flows seamlessly.
And now the kitchen is complete, because of a few pom poms I bought on sale for a few dollars.
Well, at least until next week when I make another change.
You know it's coming.
😉
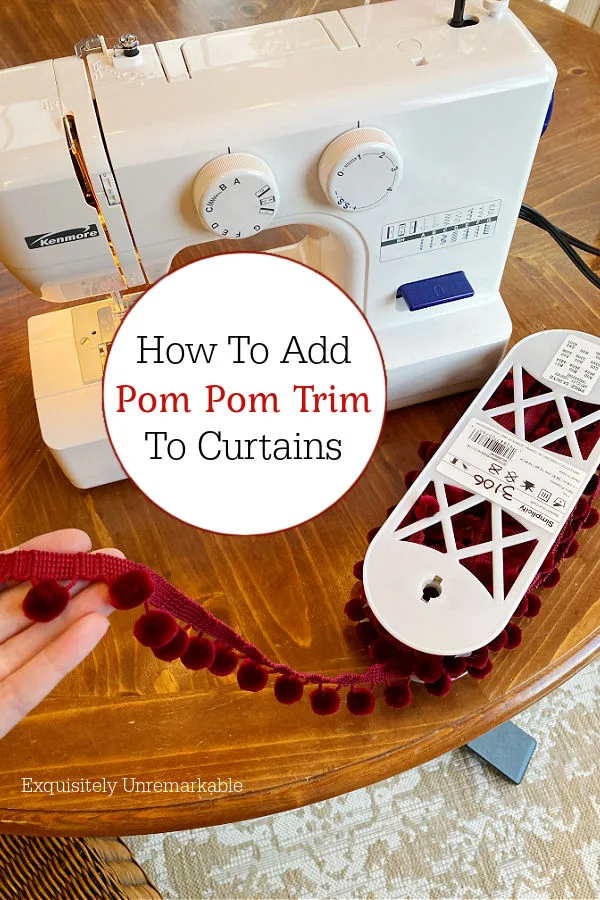
A few pom pom sewing tips:
- You can add them to anything, handmade or store bought.
Pillow cases and covers, store bought curtains, clip curtains you've made from sheets or tablecloths, sink skirts, jeans, tote bags, table runners, Christmas tree skirts, stockings. You get the idea. - You can iron them on. You don't need to use a machine. I recommend using fusible web like I did on my chair (also called hemming tape) over fabric glue, but be mindful that they'll wash better if sewn on.
- You can add them on the front of your fabric for a bold look or behind for a more subtle accent. You can also hide the trim strip in between seams, for example on a pillow or valance.
- In general, I like sewing clips over pins.
I don't pinch myself as much, they're easier to reposition and remove when sewing on a machine. When adding trim, all of this is especially true. I highly recommend them.
Happy Decorating!!


I love it Kim. Having the band in the back is a great decision. These turned out very pretty!
ReplyDeleteThanks Cindy! I really like the added charm those little red pom poms add to my view.
Deletewow! Dramatic difference! I bought some pompom trim in periwinkle for when I get around to making my new bedroom that color. You are my style guru!
ReplyDeleteSewing clips?? I'll have to look for those! See? Old dogs (me) can learn new tricks!
Nancy
Hi Nancy!! Oh, periwinkle sounds dreamy!! I love that color. I've never seen periwinkle pom poms, I hope you share yours. Also, this old dog had no idea about sewing clips either. I received a darling vintage style tin of them them for Christmas and they're my latest DIY obsession.
DeleteThe pom pom fringe on your curtains is like adding the perfect jewelry to an outfit....all dress-up! I love the look, Kim.
ReplyDeleteThanks Ann! I'd been thinking about it for a long time, but damaged shoulders and exploding washing machines kept getting in the way! Haha!!
DeleteI think it's looks great! Just want to let you know that I appreciate the fact that you're just a "regular folk". I've quit following several bloggers because they're just too highfalutin' for this simple gal. They seem to have a way bigger budget than me. I like people who keep it real.
ReplyDeleteIt looks great! Another easy update might be to add red, white or plaid shades to your chandelier. Easy to put on or take off if you don't like them. Keep up the good work!!
ReplyDeleteSo funny you suggested that...because years ago, I had shades on the chandelier and then in a simplifying fit, I removed them. However, just this weekend I was thinking about new shades. I think your comment is a sign I should do it!! Thanks so much!! ❤️
DeleteI love the Pom Poms! They add such a fun pop to your already beautiful curtains! Thanks for the awesome tutorial!
ReplyDeleteThanks Stephanie!! I hope you found the tutorial helpful. It really was so easy to do.
DeleteThat one little detail makes your already lovely drapes look awesome. - Briana from Texas
ReplyDeleteThanks so much, Briana! I have to say I'm looking at it them right now and they make me smile...like your comment!
DeleteHi Kim! Love, love, love this idea and sweet & lovely update to your already gorgeous curtains. I added some trim to the bottom of my home office curtains. They were just a little too short, so by adding the trim I got the double whammy of extra length and cuteness. I went the no sew route and just hot glued it on. Oops! I gave up my secret, lol! Anyway, love what you've done. Jane
ReplyDeleteHi Jane! Thanks you so much, I really do love the trim...and I think anyway you can get the pom poms on your fabric is a win! I'm a huge fan of glue. I actually reupholstered an entire chair in my kitchen with iron on tape and a glue gun! Great minds think alike!
DeleteHi Kim, that little addition just took the curtain panels and consequently the dining room, to another level of beautiful! I can't believe the difference it made!
ReplyDeleteThank you!! I have to say, I really love the look. I'm so glad you do, too.
DeleteAnd what a difference they make!! Gorgeous! Almost makes me wish I had curtains. (we have woven blinds.)
ReplyDeleteThanks Florence! The grass is always greener, I was considering woven blinds for a different window. I'll keep you posted.
DeleteSometimes it is the simplest things that pack a visual punch! Love the pompoms on these curtains!
ReplyDeleteI agree, Deanna, sometimes it doesn't take much! And thanks!! ❤️
DeleteThe trim makes all the difference; it's the icing on the cake! My very first sewing machine was a Kenmore and I still have it. I should dig it out and start using it again.
ReplyDeleteThanks Sara! It really is a great machine...now that I know how to use it!! 🤣
DeleteI like it.
ReplyDeleteI still have not put up curtains in our 'new to us' kitchen. I am still thinking of what I want to do.
I do love all light the windows give us, so I am stuck at the moment about adding curtains.
Carla
I hear you, Carla. I have a lace valance on the window over the sink for that reason. It’s almost like no curtain at all, which is perfect, especially in the summer!
DeleteHow cute is that?! You are so talented!
ReplyDeleteThanks so much, Melanie! I'm really not...I just wing it, so don't look too close! 😉
DeleteKim, have you ever used the liquid fabric glue? You can run a bead of it then use binder clips to hold the trim in place until it dries and you don't even have to take the curtains down off the window.
ReplyDeleteI have tried fabric glue, but long ago. It sounds fabulous, especially if you don't have to take the curtains down. I'm always curious, does it wash well, or at least dry clean well? I'd love to know!! And thanks for the tip!
DeleteKim, you did a great job adding the pom-poms to the curtains. You always make everything look so nice.
ReplyDeleteThanks Julie. I have to say, I really do find sewing relaxing…and I love the new look.
DeleteThe Pom Poms definitely add cottage charm, Kim. I love fabrics, too, and used to change things out so frequently. Now, as I’ve gotten older, I seem to be happy with what look I have now (or maybe I’m lazy!). However, in my younger years, I was always in the fabric stores!
ReplyDeleteKim,
ReplyDeleteLove the addition of the pom pom fringe...As you know, many years ago, almost all drapes were adorned with fringe, tassels and pom poms... They look great!! Thanks so much for stopping by and for your sweet comments...Much appreciated! I hope you are having a good week!!
Hugs,
Deb
Kim, I love the pom poms and the trim really elevates the curtains! Thanks for sharing at Vintage Charm!
ReplyDeleteWow, that really does add a big impact! Looks fabulous!
ReplyDeleteLove the trim on the curtains also the red checks, great project
ReplyDelete