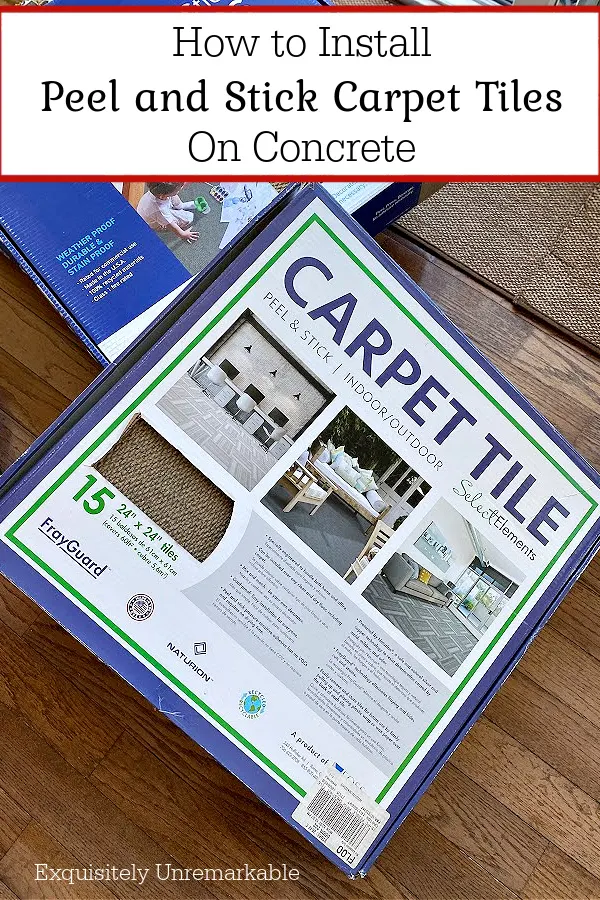
We installed peel and stick carpet tiles on our concrete floor and it was an easy DIY. We didn't use glue or adhesive, so it wasn't messy or stinky.
Quick, budget friendly, doable in a weekend and perfect for our basement.
As you can imagine.
Normally, I'm a huge fan of water. I mean, I live on an island.
I'm surrounded by and it and adore it in my pool, at the ocean and falling from the sky during a summer thunderstorm. I'll even go as far to say it's pretty in snowflake form around Christmas.
No.
It was a disaster.
We'd just finished remodeling that downstairs family room, complete with a new carpet on the stairs that we installed ourselves, fresh paint, a large sectional sofa and updated decor.
The last thing we needed was flood damage.
Thankfully there wasn't a lot of it.
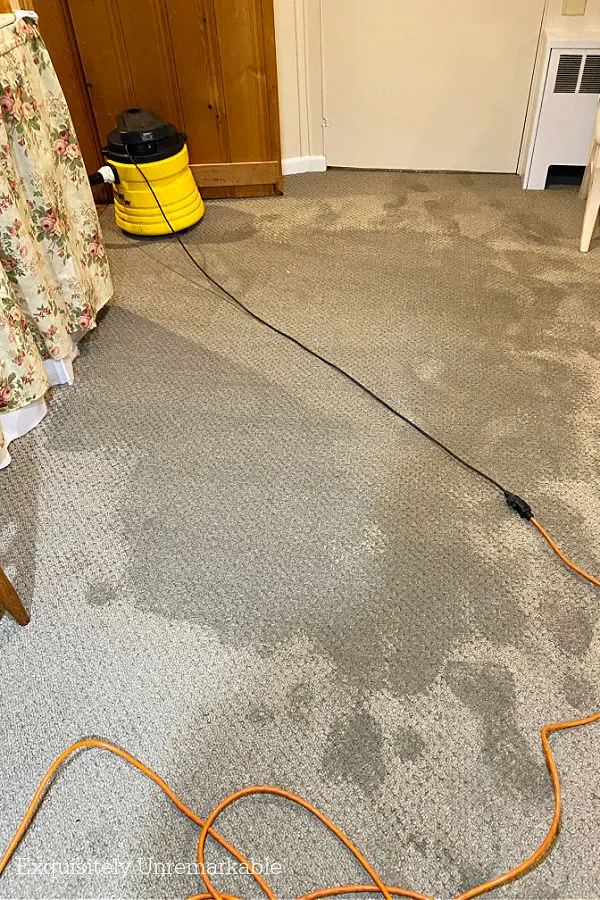
Once we vacuumed and mopped up all the water, we realized that the wall to wall carpet was the big casualty.
It had to go.
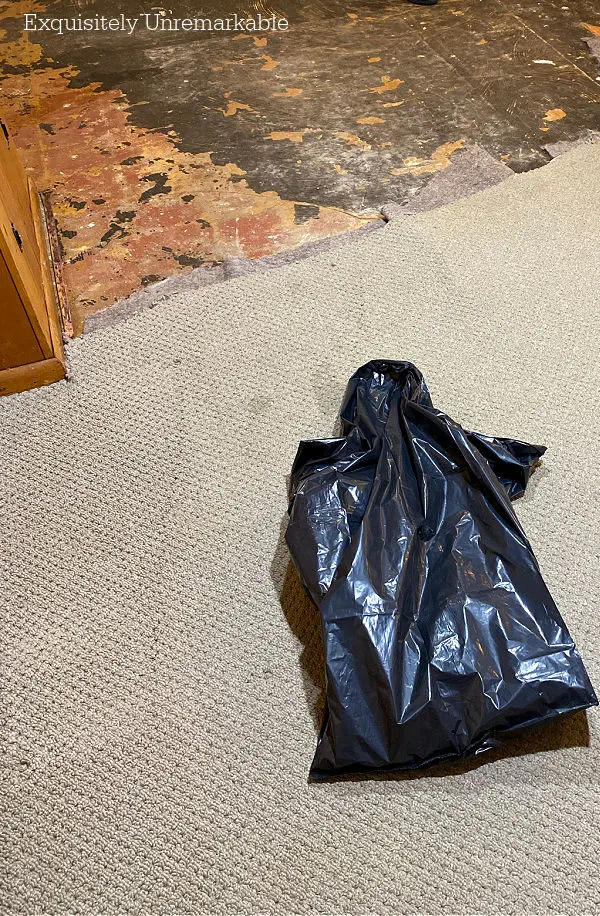
The only reason we didn't replace it when we redecorated the basement, is because I hate that new carpet smell and it was in relatively decent shape.
Of course, the flood changed all that so we had to come up with a plan b...and one that didn't involve another round of wall to wall carpet, because ripping it, and its padding, up was a nightmare.
Never again.
So after a few days of investigating, while we let the concrete floor dry out, we decided on self stick carpet tile squares.
 |
| SELF STICK CARPET TILES |
- They were inexpensive and very easy to install
- They were available off the shelf at several local stores
- They would be simple to replace if we ever had another flood - heaven help us
- They were made of recycled plastic material, that didn't smell at all and if they didn't get too wet, they would dry out quickly
- The carpet tiles didn't need an underlayment
It's more expensive and more difficult to install.
If the carpet squares got wet again, we could just pull the affected ones up, dry the floor and stick new ones down.
Easy peasy.
*Update: It's been almost two years and they still look fabulous and haven't budged. It was a great decision.
Installing Peel and Stick Carpet Tiles On A Concrete Floor
Ok, so here's how we put the carpet tiles down without adhesive.

Supplies for this flooring DIY:
Peel and Stick Flooring Carpet Tiles
Utility Knife and Blade
Wooden Board
T-Square/ Level Tool
Marker
Tape Measure
Step 1: Measure The Room
We measured the entire room to see how many square feet of carpet we'd need to cover the space. It's a simple formula of length times width.
Then we bought an extra box, so we had enough to for cuts. We also made sure that every box we purchased was from the same dye lot number.
We didn't want to have different colors on the floor.
Step 2: Vacuum and Clean The Floor

Since we'd had a flood, we obviously had to make sure the concrete floor was completely dry. We didn't want to give mold or dampness any opportunity to develop. 
When we were sure it was ready, we vacuumed the floor and cleaned up any debris that was dislodged when we ripped up the carpet padding.
The floor wasn't flat, the cement was a mess. But that was ok, the stick tile carpet squares are made for that kind of application.
However, small pieces of floating concrete were definitely not good. So they had to go.
Step 3: Figure Out The Best Layout

Once the floor was prepped, it was time to install the carpet tiles.
We started by trying to figure out the best way to lay them down so that we didn't have small cuts all over the perimeter of the room.
We wanted to make sure that we were able to set up the pattern so everything was pretty well centered.
I will say that the seams are barely visible, but it made for an easier installation and a more cohesive look overall.
Step 4: Start With A Square
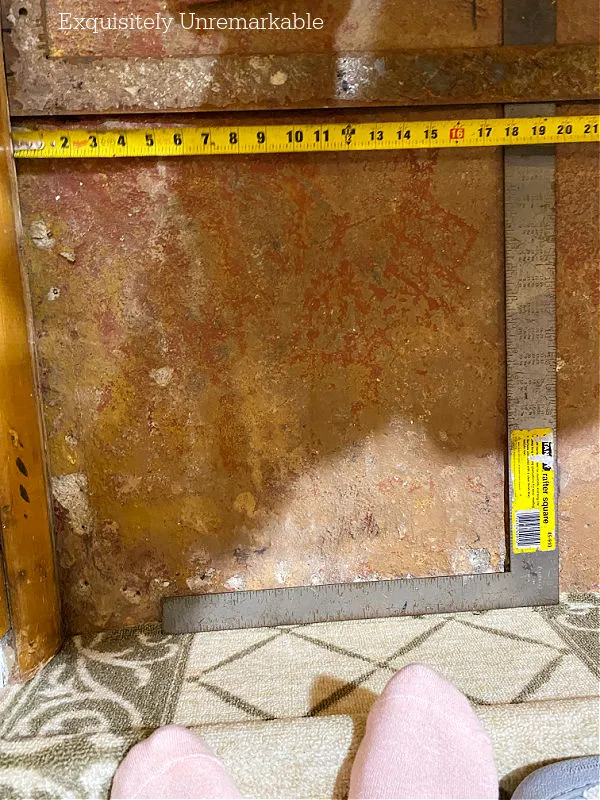
It will end up looking crooked and your installation will be difficult, since nothing will fit together well and it will involve a lot of cuts.
Of course, it'd be lovely if all homes were built with perfectly square angles, but that's rarely the case.
Especially in older homes, like ours. So once we'd mapped out the room and knew we were going to start at the base of the stairs, we had to make sure our first tile laid correctly.
It was going to set the path for the entire floor.
To do that, we laid down two metal square tools to find the right angle.
Step 5: Peel And Stick

With our plan in place and our supplies at the ready, it was time to get those carpet tiles on the floor.
Since they were peel and stick, it was a super simple and very quick process. First, we checked the back of the tile to see which way the printed arrows were going.
It was important that we installed them all in the same direction, so the carpet pattern would be consistent. It was subtle, but there was a definite variation in tone when the tiles were flipped.
Next, we just peeled the plastic backing away, to reveal the sticky adhesive on the bottom of the tile, and set it in place.

And we continued this process all around the room, checking as we went, to make sure we were still straight. As long as the tiles all lined up, we knew we were good.
Step 6: Make Cuts
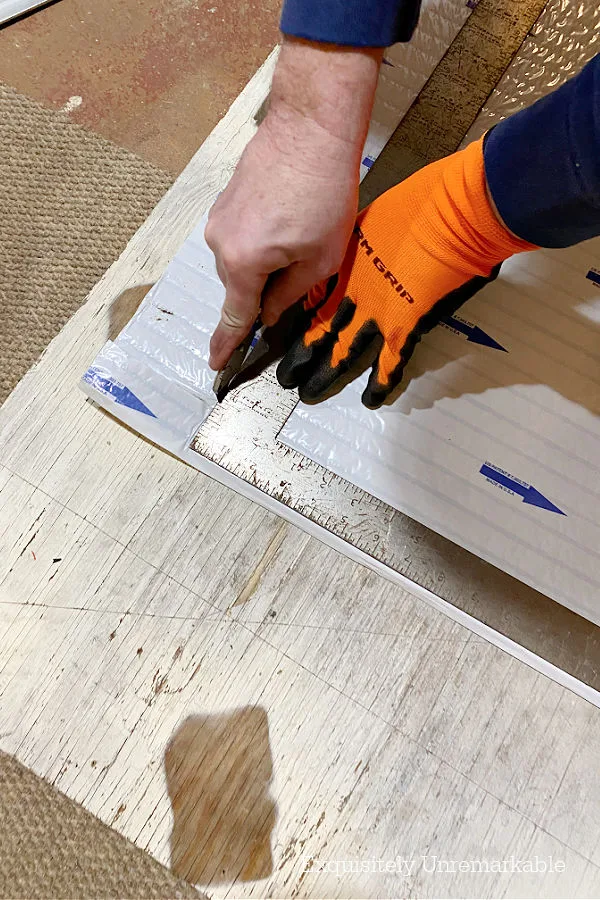
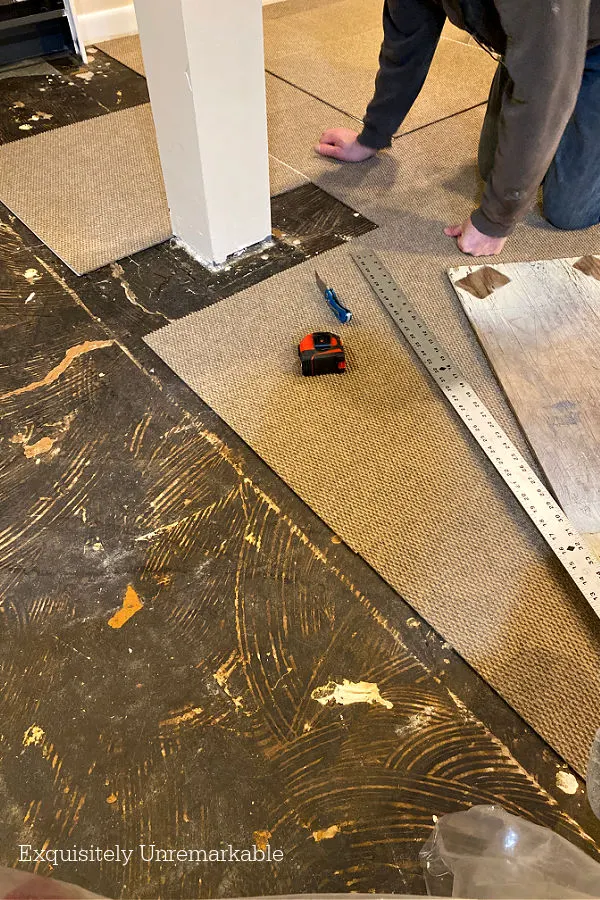
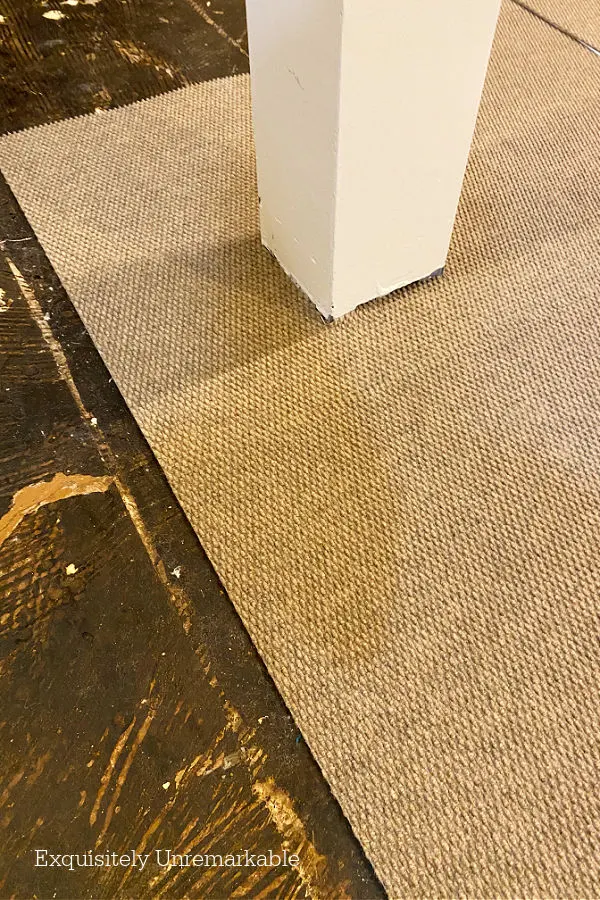
There were, naturally, some cuts that had to be made along the way. Our basement had several posts, doorways, radiators and mouldings to work around.
Luckily, these carpet tiles are made to be cut, so a utility knife easily did the job.
To protect the floor and provide a solid surface to cut on, my husband grabbed and old piece of plywood from the garage to use as his mobile cutting board.
We would measure the area that needed to be notched, transferred the pattern onto the back of the tile, with a sharpie marker and cut.
In the case of the doorway and a bookcase bump out, we made a template from an old piece of paper.
For form and function.
Step 7: Vacuum Room
The last step in this process was the clean up.We picked up any large pieces left over and then vacuumed the entire room. Besides making it look fresh, the vacuum put pressure on the tiles for one final push to set them in place.
I have to say, it wasn't a difficult or long process and if we hadn't been so exhausted from the flood mess, it would've been a lot less taxing physically.

Quick Tips, Random Thoughts and Carpet Tile FAQ's
- We chose self stick, peel and press carpet tiles. We did not want to mess with adhesive. It smells terrible and it's messy. This was the easiest way to go.
- Peel and stick carpet tiles stay firmly in place for the long haul, but are easy to remove if necessary. Tiles that are glued down are very difficult to remove and may damage the subfloor in the process.
- There are carpet tiles that simply float on the floor. I did not want that, I wanted them anchored, but they are an option.
- There are all different price points when it comes to carpet squares. We chose a budget brand, off the shelf at Lowe's. It was very thin and had no padding.
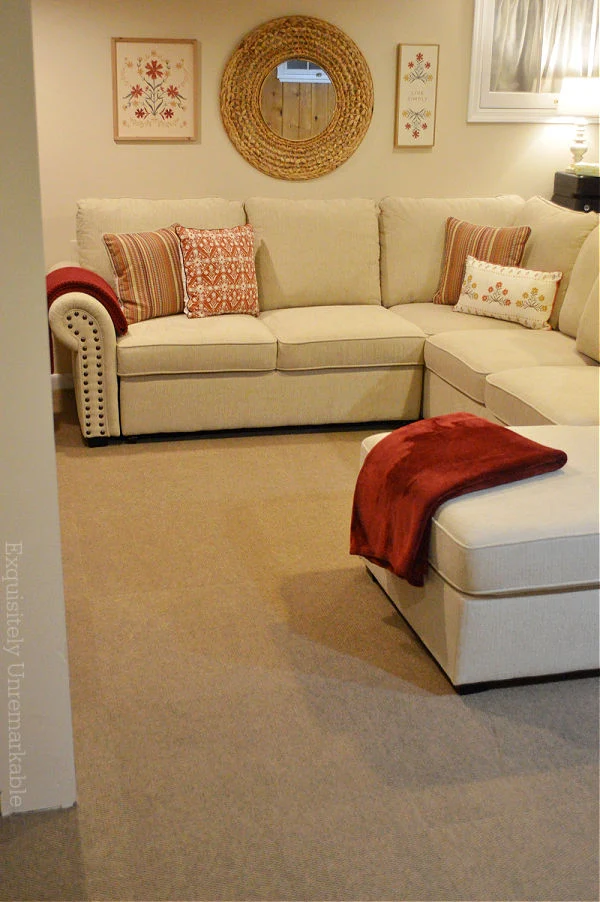
- There are plush, shag and padded varieties, which may be better if you have babies crawling around on it or little ones sitting on the floor.
- Since we had a flood, and this is a basement, we wanted a thin tile that would dry out quickly and we needed it asap. No time to wait for special order.
- I also liked that this one was make of recycled plastic. It's soft, but sturdy and no off-gassing. I can also layer an area rug on top for extra cushion.
- You can replace one tile if needed. Unlike wall to wall carpet, if something gets stained or snagged, pet damaged, etc. I can lift just one tile and replace it easily. For this reason, we did buy an extra box to keep on hand.
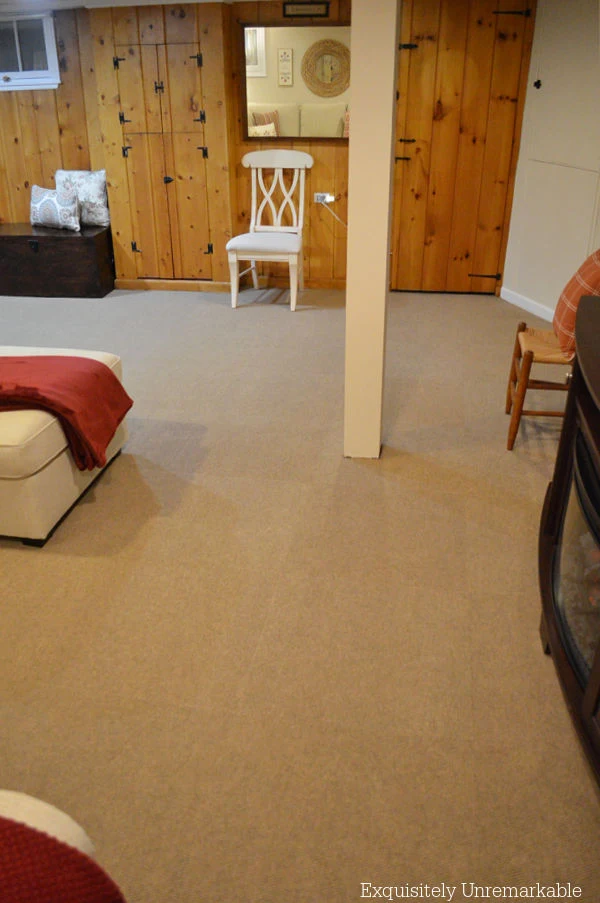
Plus, it's budget friendly.
And looks lovely when it's complete.
Oh yeah...and, most importantly, it's dry.
😉
Happy Peel and Sticking!


Thanks so much for this great information! Our living room is off kilter in one spot, and we've been racking our brains on new flooring.
ReplyDeleteI have to say, we're so pleased with these tiles. They went down easily, have stayed down and look great.
DeleteThanks so much for such an informative post. Our living room is off kilter in one spot, and we've been racking our brains about flooring. This is the answer!
ReplyDeleteYou'll have to keep me posted, Betty!! Like I said, there are plushier versions out there. If you have the time to order, it might be worth it.
DeleteWow these are all great tips on laying the peel and stick squares. I like that you took the extra time for prep and measuring. It looks great. Around the post in the basement was genius too and you are right it probably will hold up better over time. Great job.
ReplyDeleteHugs,
Kris
Thanks Kris! My husband is a "do it the right way" kind of guy. Me, I'm a lazy crafter, but I think when it comes to the big DIYs avoiding the shortcuts is always best. Thank goodness at least one of us is patient!! Haha!! Enjoy the weekend!! xo
DeleteMy son put down peel and stick indoor outdoor tiles over cement last year on patio. Rain, snow, hail didn't pop up one. Dries out fast and I must say I was really surprised and impressed. Water washes dirt right off and they stay looking nice. Glad you have a good experience with them. Looks really nice where you put them down.
ReplyDeleteOh, I never thought about putting them outside, Betsy, but we have a screened in covered porch that could use a little softness…interesting. Thanks for the tip!
DeleteThis was a brilliant solution and you cannot even tell they are in squares. Good job!
ReplyDeleteThanks Gina...and I know!! I was a little worried about the way they'd look on the floor, but you can barely see the seams and what you can see just creates a lovely, shaded pattern.
DeleteWow Kim, I had no idea these were tiles by looking at the picture. Great product!
ReplyDeleteI have to say, I was very impressed, too. When he said, carpet tiles, I said no way, but I'm glad he talked me into them. I love the way it all came out.
DeleteThat is so great! Your choice was smart for so many reasons, and it looks so good!
ReplyDeleteThanks Deanna!! I'm very happy with our choice.
DeleteKim, you and your husband did a great job replacing the carpet tiles. It's nice having a handy husband and you guys save a lot of money doing it yourselves. The basement looks great and a good idea to use the peel and stick tiles.
ReplyDeleteThanks Julie. It was a long weekend, but definitely worth the work. We do save a lot of money and we save a lot of time. There's no way we would've found a contractor to complete this work from flood to finish in less than a weekend. That's the big benefit for me.
DeleteGreat job, Kim. Let's hope there is never anymore flooding. xo Laura
ReplyDeleteThanks Laura. I have my fingers and toes crossed. 😉
DeleteHi, another great tutorial. Do keep us updated on how it is holding up. We have been pleased with the wood floor we installed in our kitchen, it has been over a year now!!!
ReplyDeleteCarla from The River
I will definitely keep you updated! I have to say the longer it's down the more I love it. SO glad to hear your love your wood floor. I know that installation was a lot of work!! Happy weekend!
DeleteKim,
ReplyDeleteIt looks really good and I like the fact that you could easily replace a tile of it if need be....I think it is the prefect choice for a finished basement...Thanks for sharing!
Hugs,
Deb
Thanks Deb and yes, that is the best part. Now I don't worry about stains and the kids. It's great!
Deletelooks amazing!! interested in a bit more DIY instruction around Steps 4&5-Starting with a Square. From (4) the picture, looks like 18” wide tiles? so the top right corner, where the two L squares overlap is the RIGHT ANGLE you are using as your starting point square? IE - that would be where I would want to line up my tile corner and square it off to the outside L angle and then if the wall and stair front were not square - I would trim off on those sides in order to get my starting straight line across the floor??? Thanks so much!!
ReplyDeleteHi there! So yes, that's exactly what we did. The outside edge was the straight line. We knew that the wall moulding could vary, which would throw off our line. So once that first square and then the first line was set, we were good to go. I hope that helps!!
ReplyDeleteHow did you do your stairs - if you don’t mind me asking?
ReplyDeleteHi there! Don't mind the asking at all. 🙂 We didn't use stick tiles on the stairs. For that we used a runner carpet.
DeleteThe full DIY is here, hope it helps: https://www.exquisitelyunremarkable.com/2022/12/DIY-stair-runner-install-and-tools.html