No standard curtain rod fit the bay window in our old home, so we made our own from copper pipes.
It was an easy DIY project that added function and style to our home.
And one that was done in a jiffy.

I grew up in a builder grade, high ranch home.
My parents bought it brand new and my mother always had it decorated so beautifully.
And on trend.
The rooms were large and everything inside, from the bathroom fixtures and stairs to the windows and garage doors, were standard sizes.
So during renovations, the supplies were easy to locate and the prices were reasonable.
Then I grew up, got married and bought a small, 1920s beach cottage where nothing was standard, easy or reasonable.
The doors were always a hair shorter than what was on the shelf at Home Depot.
It was the same with the windows, the tubs, shower stalls and stairs. To make matters worse, nothing in the house was level or straight.
Everything needed to be customized and there were tons of compromises during every renovation.
You'd think we would've learned our lesson when it came time to buy house number two.
But no. We opted for another darling 1920s beach cottage in the same charming neighborhood.

And while this one was bigger, it came with the same odd sized...well, everything.
Lucky for me, I married a true Jack of all trades. He can literally fix or make anything, and, over the years, thanks to my crazy design brain, he has been quite busy.
He built me a curved bench from two straight ones.
Turned my kitchen table into a kitchen island.
Engineered a sink skirt that mounts to the cabinet doors.

Replaced floors.
Laid carpet tile squares.
Screened in a porch and tiled bathrooms among too many projects to count.
Well, last fall, I handed him another challenge and, as usual, he accepted.
You see, I needed a curtain rod for the bay window in our newly renovated family room.
The window area, again, was not a standard size. We searched high and low for a curtain rod that would fit the dimensions of the space, but it didn't exist.
A little aside here, there are tons of bay window rods available online. They can be pricey and some are weeks out for delivery. However, none came in the dimensions we needed and we weren't sure if the angles would work for our situation.
Our windows are standard sizes, but the spaces between the windows are not. That's what caused the difficulty.
Welcome to vintage cottage living.
Instead, we - ok, he - needed to make a custom one to fit, since I didn't want the old style, basic curtain rods that used to hang there.
Over the years, I've seen people use pipe to make curtain rods, and it always looked nice, so we decided to give it a whirl.
It was actually a very easy DIY, one we completed in an evening after work.
How To Make A DIY Bay Window Curtain Rod
The hardest part was setting the angles, because they were kind of a mess, but I came up with a quick trick for that, even though he had a tool to do it, I liked my way better.
Instead, we took two index cards and placed them in the corners, between two windows.
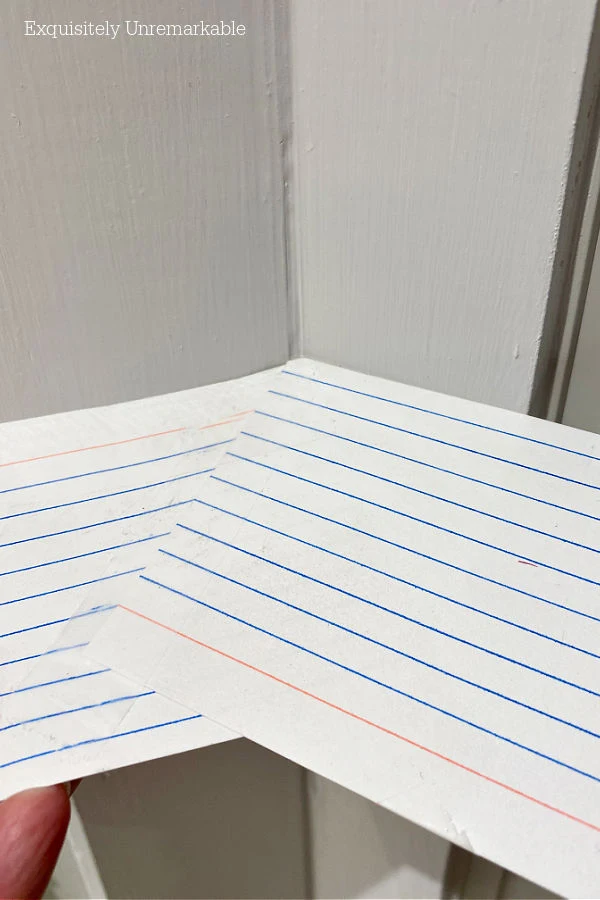
We also measured the entire span of the windows, since we needed to know how much pipe to buy to create the rod.
Then we headed off to the hardware store for our supplies.
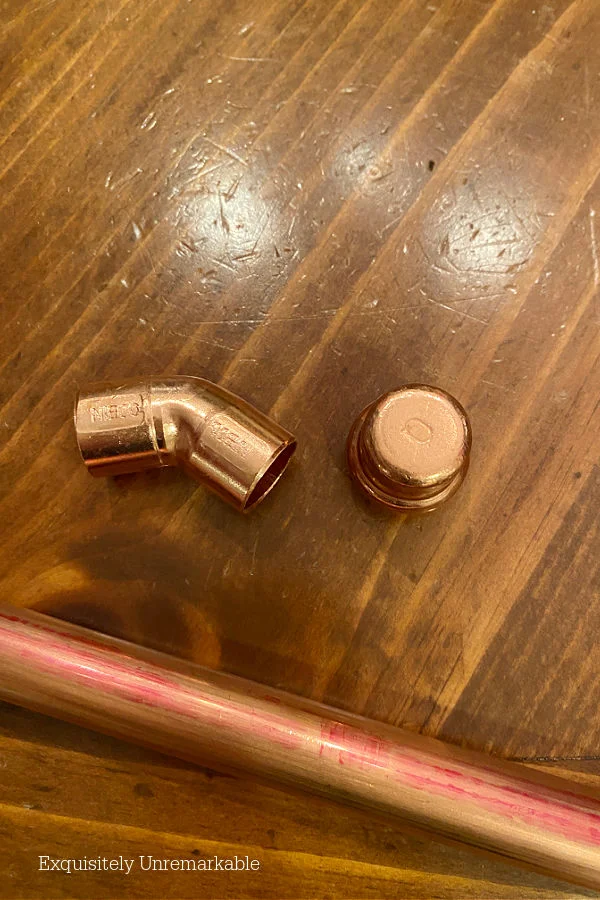
We purchased 1/2inch copper pipe, two end caps and two 45 degree elbows that matched the angle of our bay window frame.

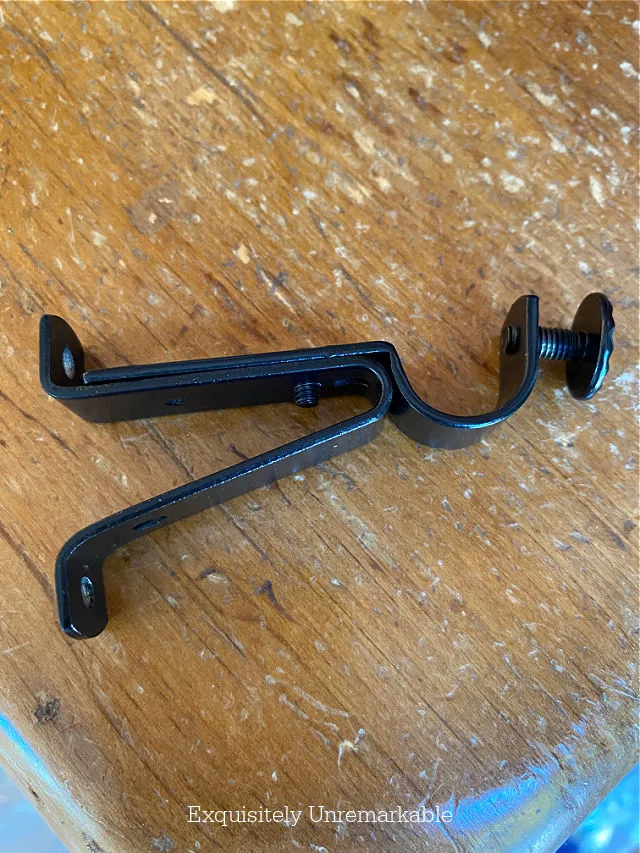
Once we were home, it was just a matter of cutting each pipe to size and fitting all the pieces together.
The rod was really constructed in three parts. We measured each window section separately and then cut the pipe to fit each section.
We also made sure to leave a slight overhang on the end windows, so the curtains would hang properly, framing the window and trim.
To be honest, there was a bit of trial error when it came to the cutting.
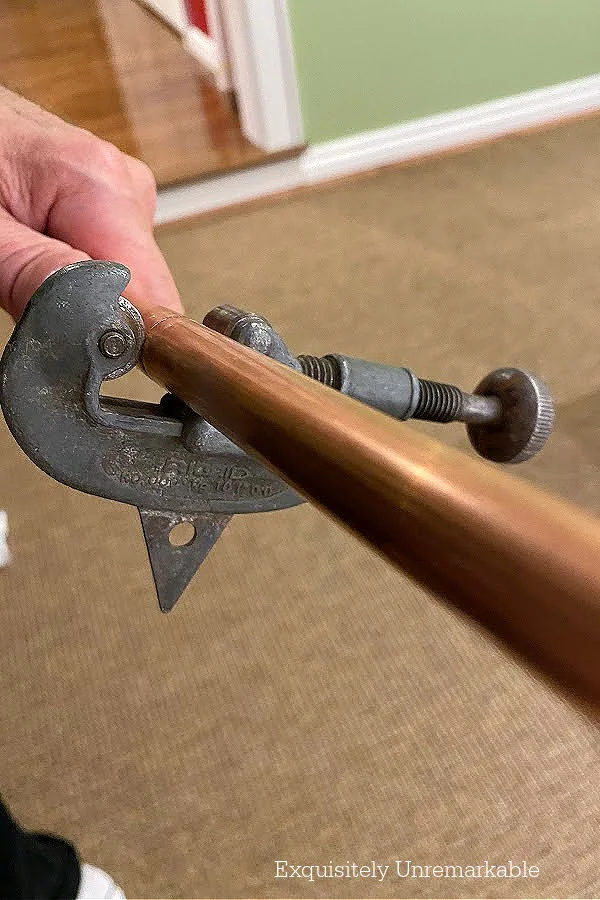

It took a little more time that way, but the angles and spacing were such a mess, it was really the only way to get it right.
The next step in the process was the put it all together and add the end caps.
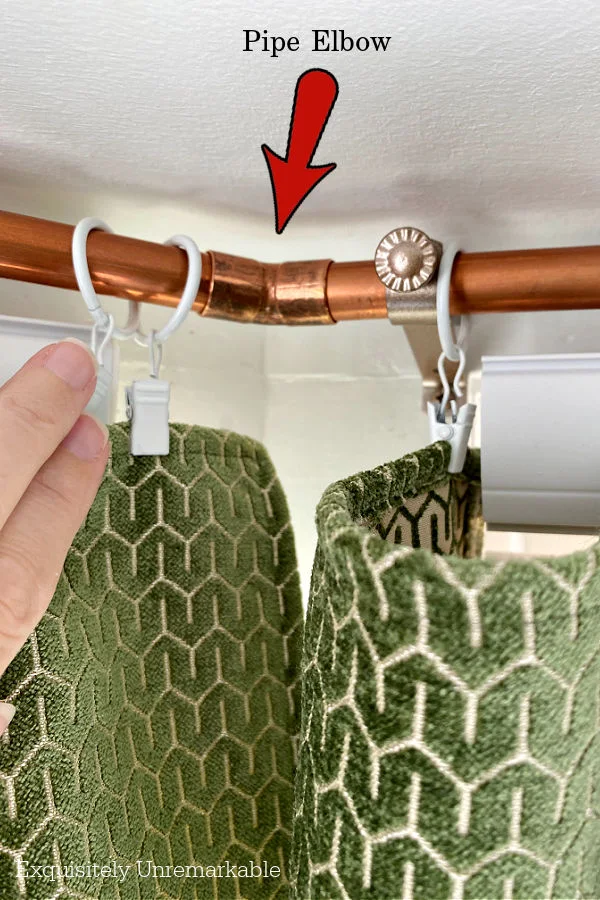
The brackets in this picture are copper, but that part of the DIY was completed on another day.
We did have to take them off the wall and bring them outside to spray them.
It was definitely not as easy as hiding the center bracket on my kitchen curtain rods.
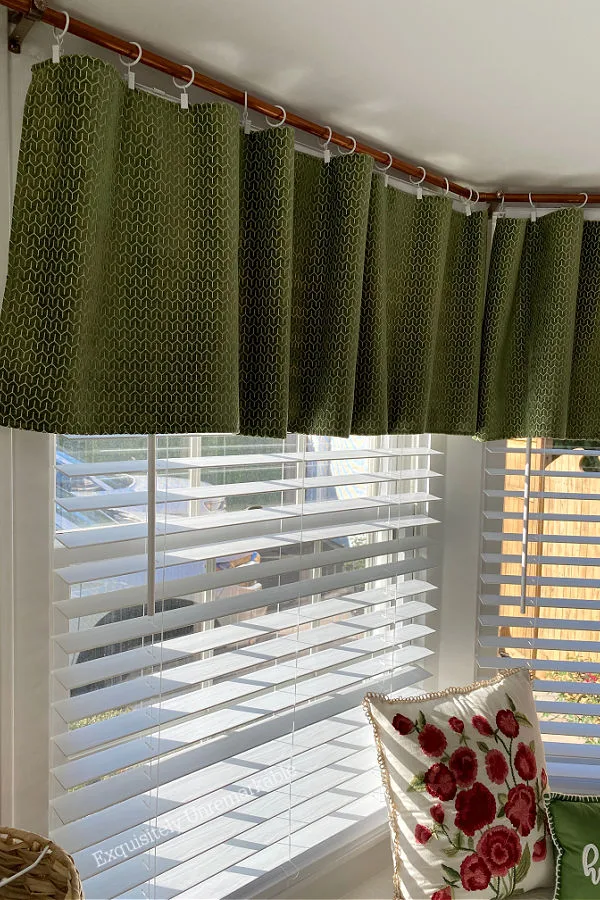
When we were all done, I had a gorgeous custom curtain rod.
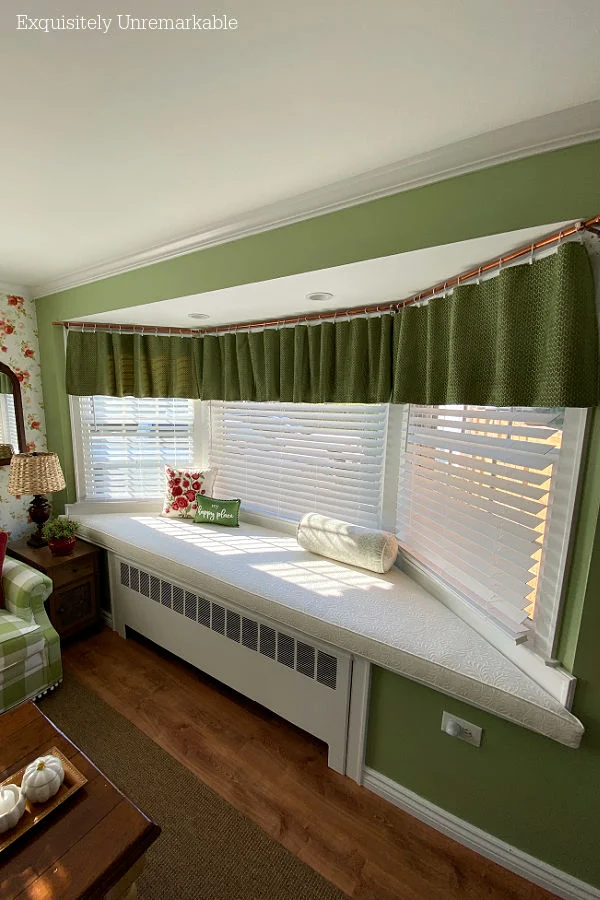
Gone is the old, basic rod pocket hardware. Now I have more modern and flexible rods.
Ones I can use with my new ring clip curtains or rod pockets versions.
And while I've chosen to leave the pipes alone, letting that lovely copper hue shine and blend with the wallpaper in the room, I could always paint them white in the future if I choose.
However, for now, I adore the way they look.

I adore that quirky, uneven bay window nook.
But most of all, I adore my super talented, always up for the challenge, DIY guy.
Who makes my non-standard design dreams come true.
♡
Have you ever made your own curtain rod?

Happy DIYing, Friends!


You guys are so clever! What a team!
ReplyDeleteThanks Deanna! I'm just the DIY dreamer over here. He gets all the credit for the heavy lifting. 😉
DeleteOld houses sure are a challenge! The curtain rod is beautiful and I hope you don't paint it. The copper is beautiful!
ReplyDeleteThanks Ann, that seems to be the consensus! Copper it is! My husband will be so happy that he doesn't have to take everything down again!!
DeleteKim this room just keeps getting better and better. I love the copper! It is such a rich touch. Have you ever thought of spray painting the curtain rings copper? I did that one time and loved it. The white rings are a beautiful contrast and in keeping with the spring feel of the room. I think either works. thanks for always inspiring me!
ReplyDeleteSusan, you read my mind! Although you're much sharper than I am...I really didn't notice those white clips until last night when I was publishing the pictures. When the idea first came to me, I was sure I was going to paint everything white. Once in the room, the copper was so warm, I left it...although still certain that it'd eventually all be white. However, a year in, I still adore the copper. I think it's time paint those rings!! Thanks for the suggestion. It's on the list!! Thanks so much for the visit my friend. I wish you a warm and dry (Ugh) week!!
DeleteIt is so great that your hubby is handy has tools and knows how to use them! We had the same kind of window in our last home and Terry had to do the same DIY. I never thought of copper. Wish I did it is so beautiful. Have a great weekend. Hugs. Kris
ReplyDeleteThanks Kris! I know you have your very own handy DIY guy. It’s a blessing for sure. Honestly, I wasn’t thinking about the copper pipes, that was all him. He liked the size and thought the color would complement the flowers in the wallpaper. Apparently, he’s developing a design eye of his own. Haha!!
DeleteYou are a rock star team indeed!! I am so thankful to have married a Jack of all Trades as well. ;-)
ReplyDeleteCarla
This is so cool. Love the look and I think the copper is perfect for your beautiful cottage. Great job!
ReplyDeleteKim, I love this curtain rod your husband made for you. It reminds me of my father doing things like that to our house when I was growing up.
ReplyDeleteWow! Is there anything you two can't get done together! I love your ingenuity and creativity! The window just looks amazing!
ReplyDeleteKim,
ReplyDeleteI love that you used copper...I did something similar with the pvc pipes which were covered by the curtains when I placed my bed in a corner of my bedroom and hung drapes and curtains behind it....I used the pipes as the rods across the corner and now have storage in that corner behind my bed...Love those valances too!!
Hugs,
Deb
I could just snuggle up there with a good book and a cuddly fur baby all day. Love how it turned out and the copper fits right in.
ReplyDeleteOh my! It's lovely. I also have a 1920's cottage in need of so many things! I've been struggling with what to do with the 4 different sized windows in my front room. You are such an inspiration!
ReplyDeleteOh my goodness, thank you so much! What a sweet comment, you just made my day!! I totally understand the the challenges of decorating a 1920's cottage...there's lots of charming details that don't always play nicely with modern solutions. Your windows sound very cool. I bet you'll come up with something lovely!! Let me know how it goes!!
Delete