I found an old wooden planting box at the thrift store and gave it a quick makeover in minutes with a dollar store sticker.
It's an easy DIY and makes a fabulous budget centerpiece for your next spring or summer celebration.
Spring cleaning isn't usually my thing.
I'm so excited to get back outside once the warm weather arrives, that I generally leave the scrubbing and organizing for fall.
You know, when I'm back inside again readying myself for the holidays.
And hibernation.
It's just makes more sense, if you ask me.
However, this spring, has been cold. And I have more time on my hands with my newly empty nest.
So, as I mentioned a few days ago, I've decided this is the perfect time to go through my thrift stash and get busy making all those projects on my crafty wish list.
Starting with this.
 |
| Similar Leaf Decals//Dainty Leaf Decals |
I think I originally purchased it when I made my very large, designer style Easter eggs, last year.
When I didn't use it, it went into some bucket. Buried under other random supplies, and found quite accidentally, when I went looking for something else.
Yikes.
A little aside here...I've always been under the impression that using plastic buckets to keep yourself organized was a great idea. It is not.
You can lose track of things just as easily when you can see them, as you can when they're in a cardboard box. At least I can.
I think I need a better system. Anyhoo...
Back to my craft.
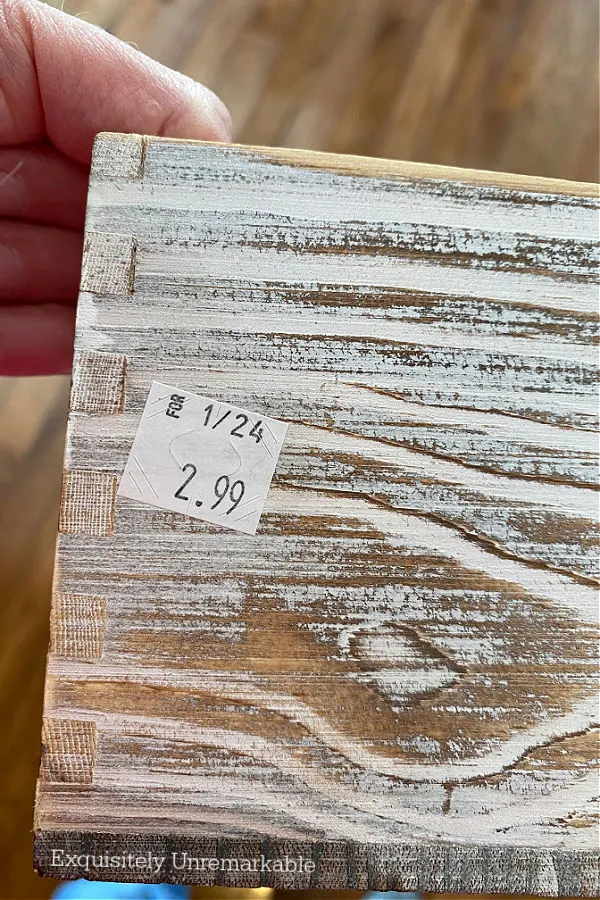
To be honest, I didn't even think about that sticker until I found this whitewashed wooden planter box at the thrift store last week.
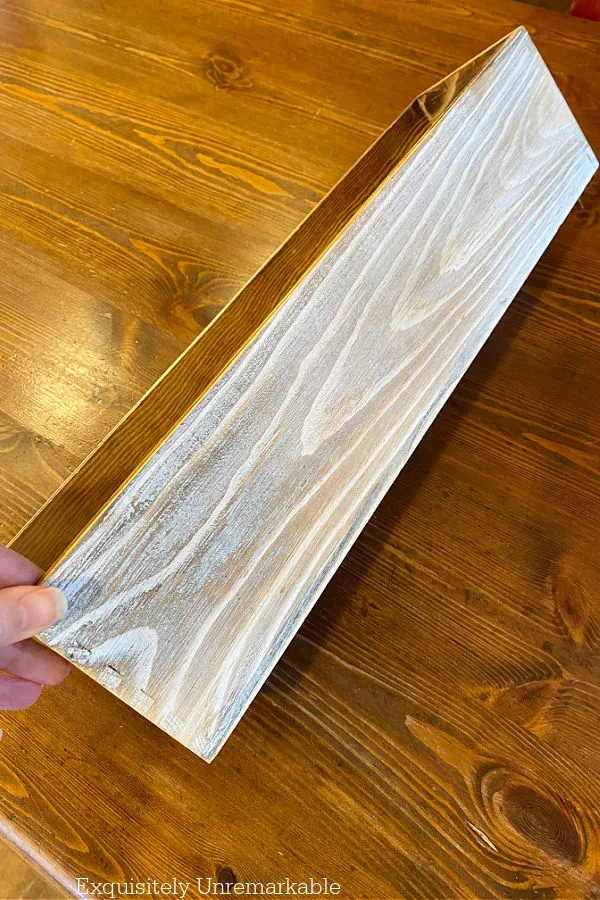 |
| Similar Wooden Box// Whitewashed Wooden Box |
It was $2.99 and a blank slate.
Sold.
For a few days I had no idea what I was going to do with it, then that wall decal resurfaced and it was a no brainer.
I love peel and stick wall decals. I've been using them for years to make signs and decorate other items in my home.
- Wooden Welcome Signs
- Merry Christmas Sticker Signs
- Whimsical Decor Signs

- Holiday Candle Holders
- And Cutting Board Makeovers
Plus, they're repositionable, if you make a mistake during placement, and removable, for if/when you want to change your design.
How fabulous.
The directions here are super quick and basically self explanatory, but this girl likes to talk, so I'll walk you through it.
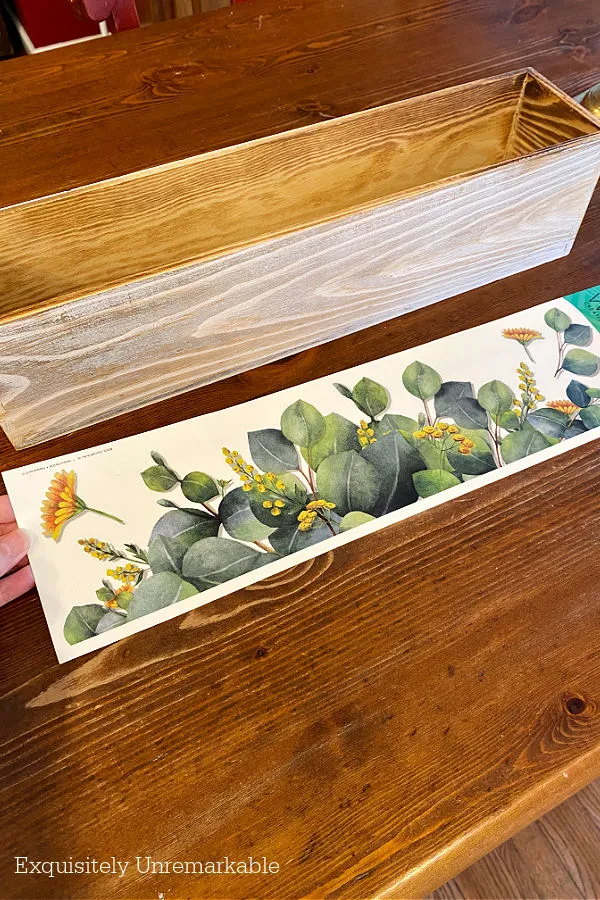
Just so it's clear. 😉
My wooden box was already finished. It had a whitewash treatment that I thought was perfect for spring.
Had I wanted to paint it...say, red...I would've given it a few coats of chalk paint in my favorite hue and waited for it to dry before I moved on.
I could use stain in the same way.
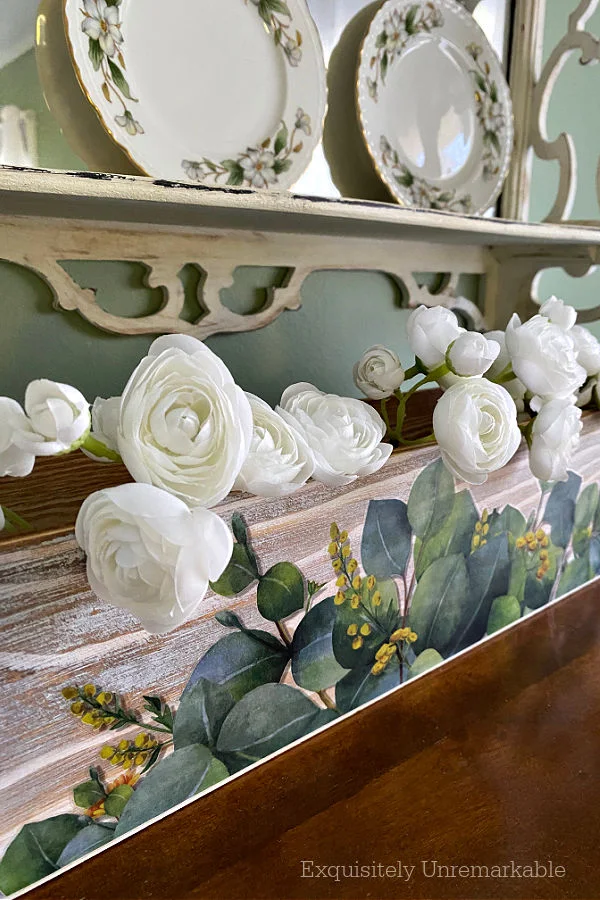
However, like I said, I was happy with the finish, so I simply peeled the decal away from its backing.

Then I used my fingers to smooth it out and press it firmly onto the wooden box.

So I grabbed my scissors and cut it off. Easy peasy.
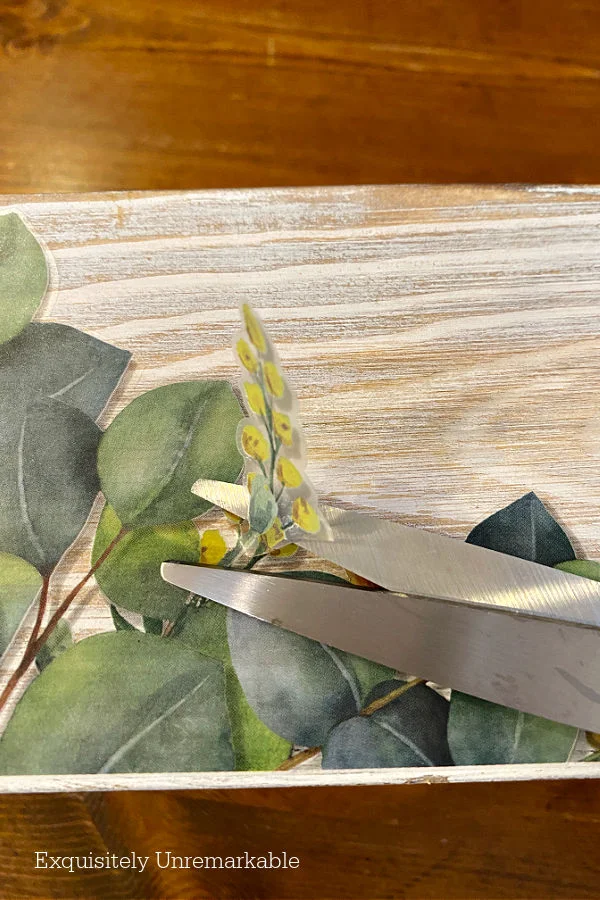
At this point, I could've -and sometimes have - coated the wood with a bit of sealer to make sure everything stays put for the long haul.
However. I like options and this box has tons of potential for all seasons. The green leaves are perfect for spring.

In summer I may add a bold hot pink floral sticker.
In fall, I could add pumpkins or a pithy Halloween saying and at Christmas, well, my goodness, the options are just endless.
I'd also like to note that I left the other side unadorned, because sometimes what's in the box might need to stand on its own.
Elegantly placed in a plain, rustic, slightly worn looking container.
Yesterday though, I played with candles.

And a new bouquet of dainty faux flowers.
Both looked so good, I couldn't help but imagine several of these wooden planters placed on tables, as inexpensive, yet stunning, DIY wedding or shower centerpieces.
Personalized with stickers to suit the party.
They'd frankly work for any celebration.
She asked and I gave.
I mean that's what mom's do, right?
Plus, that's the easiest way to clean up and out.
No matter the season.
😉
What would you do with a wooden box?
Happy Crafting, Friends!

Ha Ha I cannot tell you how many of my past crafts and furniture etc. are in my oldest daughters home! That looked pretty sweet with your plates. Matched perfectly. Yep when they ask we give lol! Hope the girls are doing well on their own. Hugs. Kris
ReplyDeleteThanks Kris!! I really did like the way it looked with the plates. It's gone now though, whomp whomp, but it looks really cute at her place. Glad to hear I'm not alone when it comes to giving it all away! Hugs!
DeleteHey Kim!
ReplyDeleteThis is a really simple but fun diy. I think that the leaves decal really looks like it has always been there! It goes so well.
Happy Spring!
Rae
Thanks so much, Rae! I have to say it was so easy. Of course, now I miss it and might have to "borrow" it from my daughter when she's done with it! 🤣
DeleteThis is so pretty! Thanks for the inspiration!
ReplyDeleteThanks for letting me know you liked it, Jeanine!
DeleteThat sticker looks like it was made for the planter - absolutely perfect size! It turned out so cute. And you know it's good when the kids want it! :)
ReplyDeleteThanks Mari! I love it when something in my stash work is just right for a new project!
DeleteLove it, Kim. I didn't even know there was such a thing. Have never seen any at my $ store. So pretty and so easy for the next celebration. You did good !! Again!! Happy Spring ..xxoJudy
ReplyDeleteOh gosh, Judy, wow, that’s crazy. We have a whole aisle of these sticker/ wall decals. It’s usually the first place I visit when I walk in the store. I hope your store gets them!!
DeleteThank you for this inspiration! I have a much smaller wooden box like yours, just not stained. I found it in a thrift shop for, I think $0.99 and I picked it up with no idea how I would use it. I put it on my kitchen counter and dropped a couple of small faux plants in it. Perfect! I was thinking about doing a stencil that says "Garden" or something, but it doesn't seem easy. But your stickers look fun, easy, and best of all, change-able! I am on board with all your ideas!!
ReplyDeleteKristine, I vote for stickers! I've seen some at Dollar Tree that say "Garden" or "Flower Box" on them. As a matter of fact, I think they're hiding in my stash. I hope you'll share if you do decorate your wooden planter. Oh and by the way....99 cents? You go!
DeleteThat turned out so pretty, Kim. It just so happens I pulled out some pop-up stickers that have been hiding in a drawer for longer than I'd like to admit. An idea for them is swirling around my brain. I guess it's time to DO something with them. Thank you for inspiring me to get it done!
ReplyDeleteI can't wait to see what you come up with, Ann!! I bet it'll be fabulous...and pop up stickers? Now I want some!!
DeleteThis came out so lovely! - Briana from Texas
ReplyDeleteThanks so much, Briana! It was cute around here while it lasted, but it's even cuter at her house!
DeleteCute project! If only my nieces and nephews would move into their own places so our upcycles could clean up and out too!
ReplyDeleteIt definitely helps, Sara!! Haha!!
DeletePerfect project...Love it!!
ReplyDeleteThanks so much for stopping by and for your kind words and prayers for Joe and for our family during this difficult time....It is gratefully appreciated!
Hugs,
Deb
Debbie-Dabble Blog
You bet, Debbie. Thinking of you, Joe and the family. Hugs.
DeleteI love it. Thank you for sharing.
ReplyDeleteI wanted to ask you.. how are you doing on your Saying NO to the ... post you shared at the start of 2024.
I copied your list, to work on them as well. Here is my update.
I am doing well saying NO to interactions that saddened me or aggravated me.
I goofed on the activities I did not enjoy... I will need to work on this one.
Doing really well with NO people who gave me grief in the past, I am just staying away!
Doing well with exercises I hated.
And foods that did not agree with me.
Had a little slip with people who treated me poorly.. but working on this too.
Carla
Thanks Carla! So funny, I was just thinking about that list, sounds like you’re doing well! ☺️ So far so (mostly) good over here, too. However, I have to say, I’m not great with the saying no to interactions that have saddened or aggravated me. Sometimes they occur with family members of friends and I’m not good at saying no. Still working on that.
DeleteThis turned out so cute Kim. I imagine many items make their way to your daughter's home. I know whenever my mom would like to get rid of something, she offers it up to me. Typically, I take whatever she is getting rid of. Moms have good taste, what can we say?
ReplyDeleteMoms do have good taste, Cara, I agree. I'm glad my girls think I do, too. Honestly, there was a bit there when our styles differed greatly, but as they get older they seem to be coming around to my side of the decorating street!
DeleteSHARING YOUR DIY PLANTER on The Weekend Edit Kim! xo laura
ReplyDeleteThanks so much, Laura! I am thrilled that you like it enough to share. ☺️
Delete