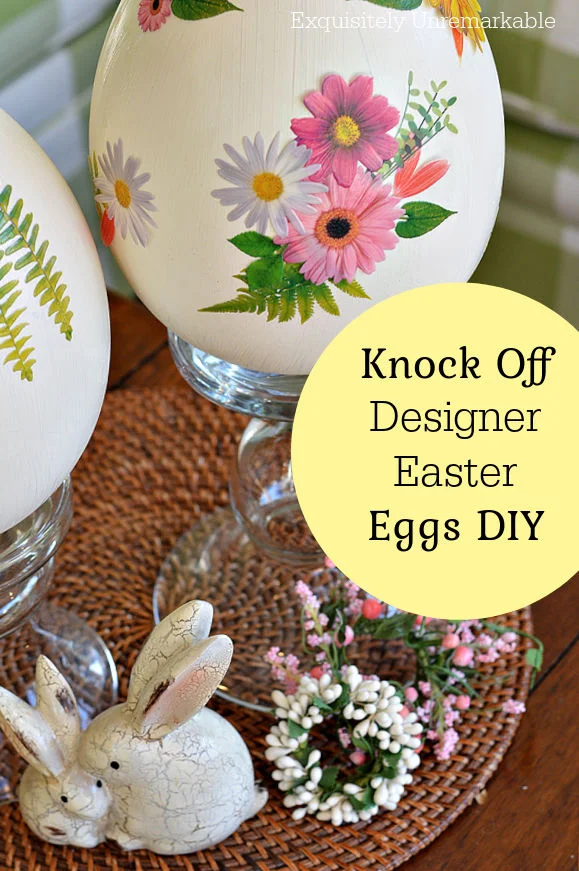
I made my own designer Easter eggs, large home decor versions, like I'd seen in a high end catalog for a lot less.
With a little bit of creativity, and no fancy skills, I had very similar eggs and I made them in under an hour.

They were larger than life, full of spring color and so elegant.
These Designer Easter Eggs.
But boy, were they pricey.
Very, very pricey.
Um...no thank you, that was way out of this thrifty (and fickle) girl's decor budget.
And yet.
I couldn't get them out of my head.
So I ripped the page from the catalog and tucked it into my desk drawer. Hoping that maybe one day, I'd catch a clearance sale.
Well, this year, when I opened the catalog, again, and my eyes fell on that page, I was determined to have them.
No. I wasn't going to buy them...since the sale price wasn't much less than the full price.
I was going to figure out how to make them.
It was a lofty goal, since the originals are truly outstanding, but I knew that if I put my thinking cap on, I could figure out a way to come reasonably close.
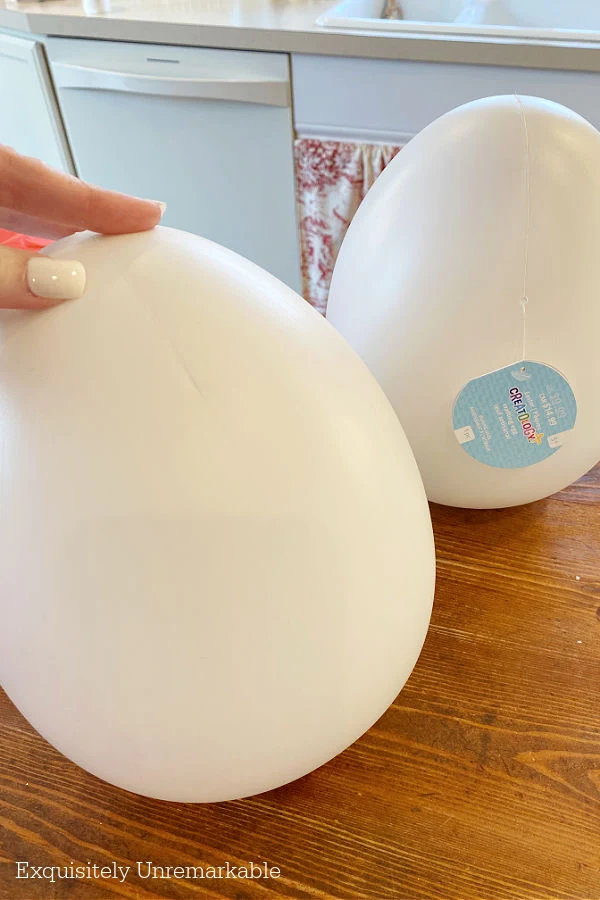
I didn't need to paper mache anything, or paint or stencil any fancy designs and it certainly didn't cost me anywhere near the catalog price.
And I think mine are actually just as darling.
But I'll let you be the judge.
DIY Floral Designer Home Decor Easter Eggs
To start I gathered my supplies. I have to say I wasn't exactly sure of my direction when I began this journey.
I thought about decoupaging eggs, but I don't have a great history with that process.
Then I stumbled on some lovely stickers at Dollar Tree while I was buying my tin tile and that's what I settled on.
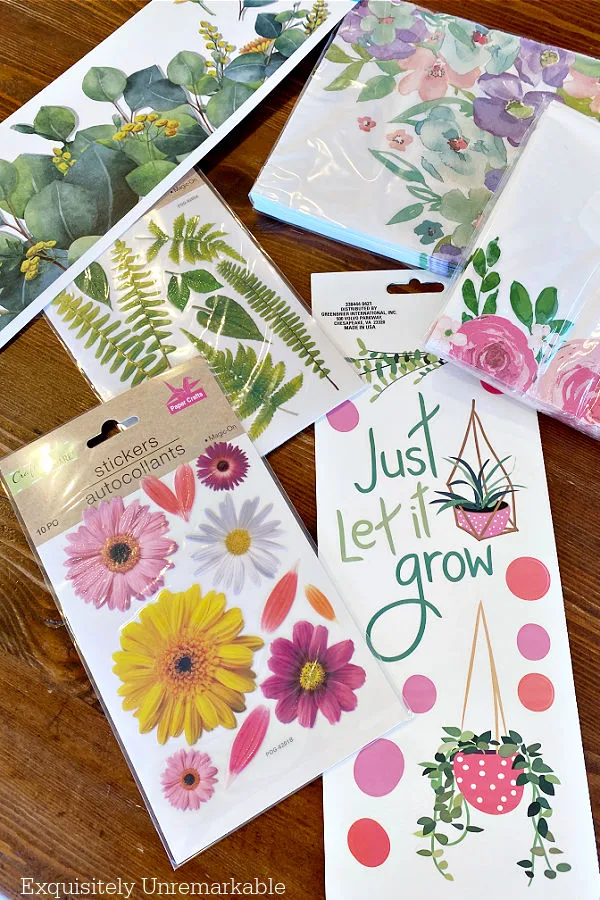
You could make these same eggs from wooden cutouts, as well. It actually might be easier to apply the stickers to a flat surface.
And wooden eggs were everywhere at the craft store. Small sizes for inside:

However, since I wanted to replicate the catalog eggs, I went with the round, plastic ones.

Here's my supply list:
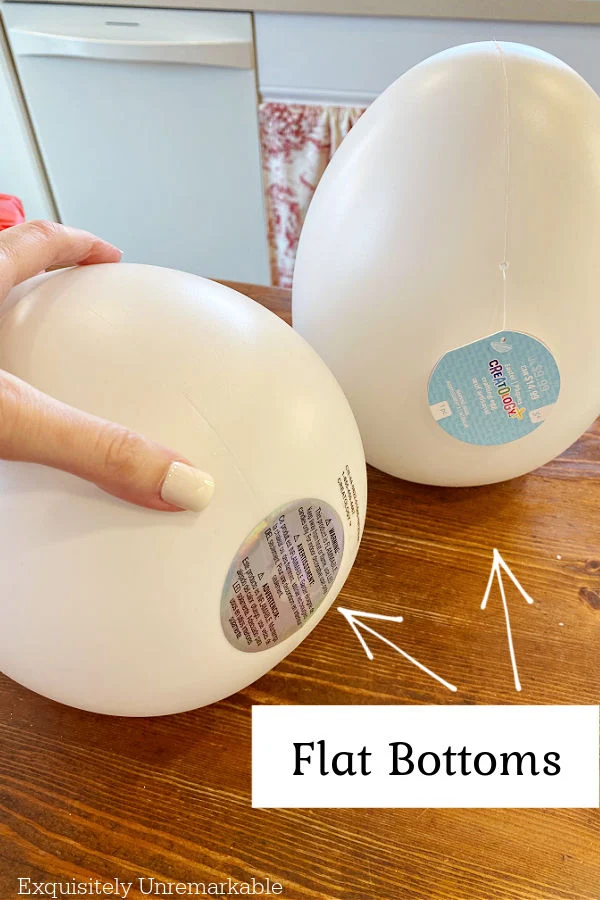

- Large, round, flat bottom Easter Eggs - similar ones
- These Stickers
- Decoupage Medium
- Brush
- Buttercream Chalk Paint
- Foam Brush
Step 1: Paint The Eggs
I didn't use any primer, even though the plastic surface was slick.
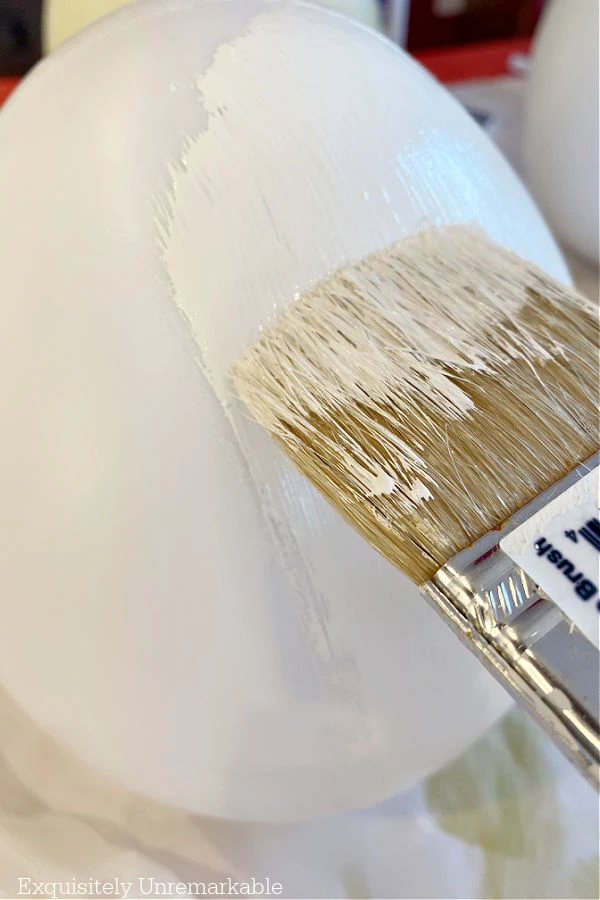
It didn't take long to dry either. By the time I finished painting my second egg, the first was dry.

*If you don't want to use chalk paint you could use spray paint. I recommend one like Krylon that has a primer and says it works on plastic.
Step 2: Arrange The Stickers
This is where the art comes into play.
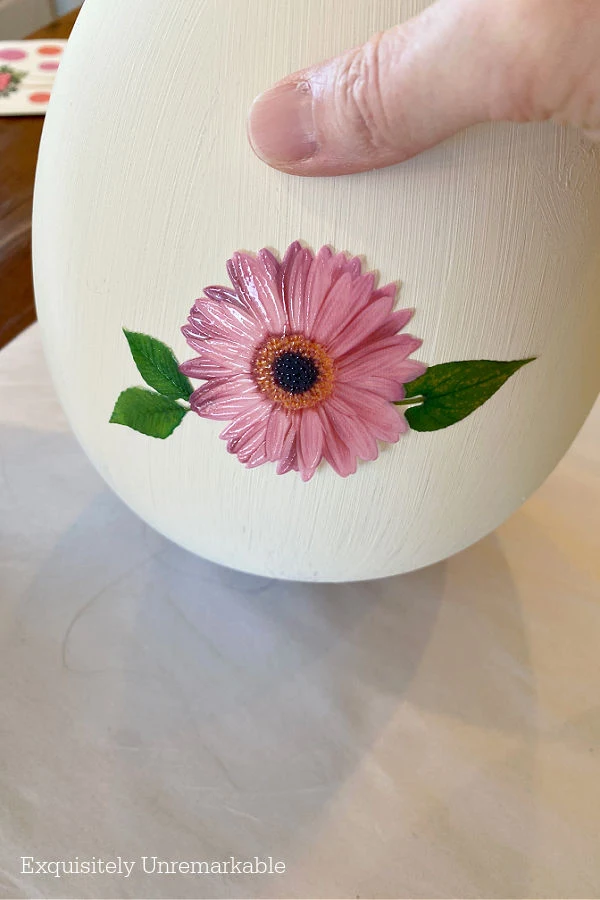

I made sure to cover all sides of each egg, so they would look finished from every angle.
Top to bottom.
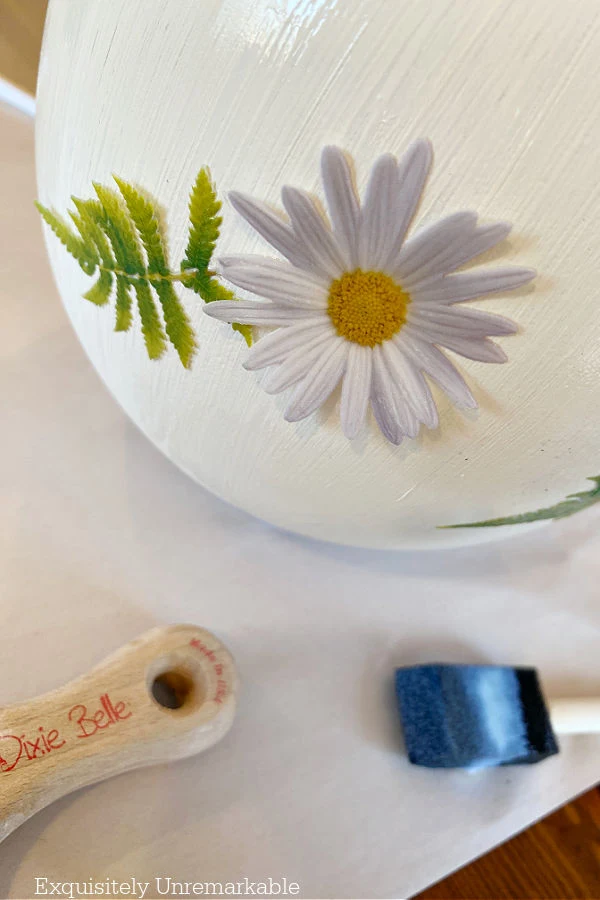
Step 3: Decoupage and Seal
Once I was satisfied with my designs, it was time to lock everything into place.
To do this, I carefully lifted my stickers and added some decoupage gel, underneath them.

As a matter of fact, I covered the entire egg with it to give it a nice glow.

Step 4: Cut and Seal
So this step was an afterthought, it wasn't something I thought I'd need to do, but I noticed that one of my flowers wasn't sitting flat on the egg when it dried.
The floral stickers were pretty thick and made of a sturdy plastic.
And no amount of decoupage was helping, so I took my scissors and snipped it in a few places, so it would hug the curves of the egg and sealed it again.

When I was done, I had two eggs that I adored.
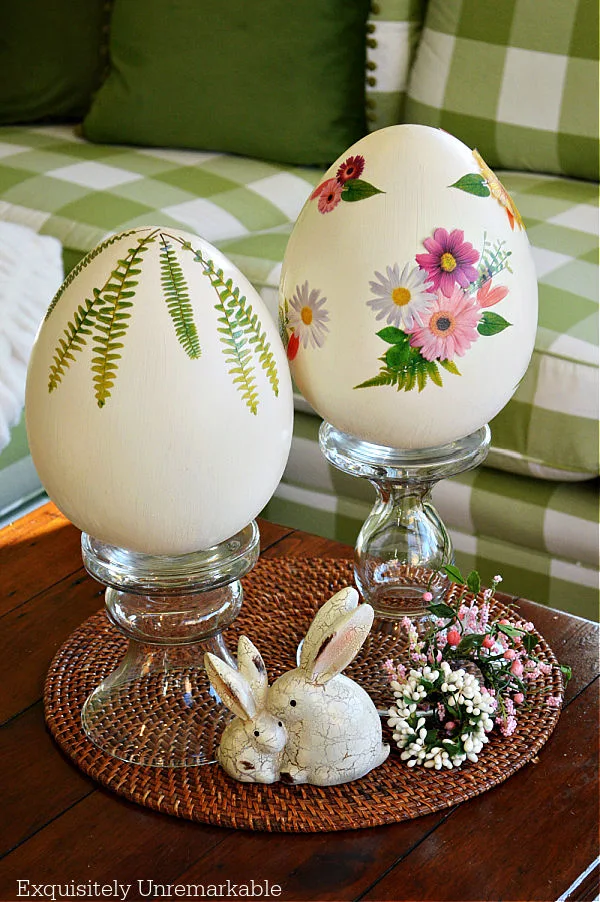
I think they're even better than the originals, because I made them to match my new family room decor.
And they were much cheaper.
The eggs were purchased during a buy one get one sale, so they were $15 for the pair and the stickers were $5 in total.

A far cry from the individual price of each of the originals, a budget friendly new crafty Easter idea for my repertoire.
And displayed on my yard sale candle holders, you'd never know the difference.
Fabulous.
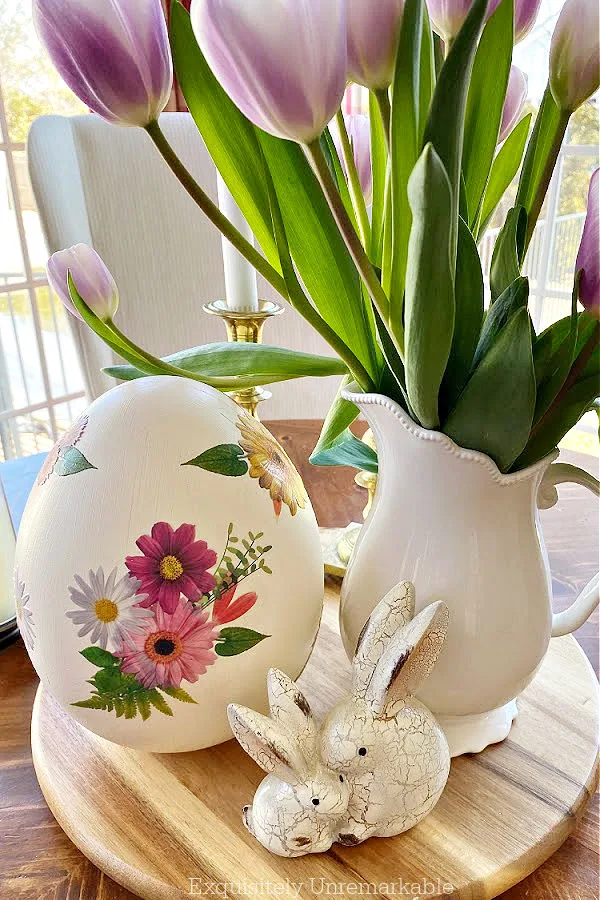
At least I think so, but as I said, I'll let you be the judge!
😉
More Easter Crafts:

Happy Crafting!


THOSE are DARLING! I love them! Isn't it fun when you can 'copy' something and like it as well as the original. I didn't get my Easter stuff out and am debating whether I will. I am heading to FL for 8 days and then coming home and going to my daughter's house for a few days over Easter. Hmmmmm...we'll see.
ReplyDeleteHappy Easter Crafting! xo Diana
Thanks Diana! I had fun with these. I don’t usually have the patience to copy things like this, because I’m always sure I’ll be disappointed with the results. This was a happy surprise. And an easy one. And an inexpensive one…😉
DeleteHave fun on your trip and your Easter…and I say to heck with the decor. Enjoy everyone else’s this year instead! xo
Well look at you. You go with your crafty self!!! These are so pretty and easy. Happy Thursday sweet friend. Hugs. Kris
ReplyDeleteThanks Kris! I really liked these eggs A LOT. I just couldn’t justify the catalog price, since I like to change my decor up from year to year. Do you know anyone else like that? 😉 Haha!!
DeleteKim I recognize those eggs! ;) I can't believe how high end they turned out with the stickers!
ReplyDeleteThanks Mary! It was truly "stickers to the rescue" this time around. 😊 You know me, I love an easy craft.
DeleteThose eggs are fantastic!I hope to find time to make one
DeleteI grabbed them at Michael's crafts. On sale!! I hope you do make one!!
DeleteThese are SO much better and at a much better price! Now I need to go look for some eggs....because they're SO pretty!
ReplyDeleteThanks so much, Ann. I’m kind of obsessed with my eggs. I may leave them out until Memorial Day!! Ha!!
DeleteKim, these eggs turned out really cute.
ReplyDeleteThanks so much, Tammy!! So easy...just stick and seal!!
DeleteYou've done it again! They look amazing!
ReplyDeleteThanks Deanna! Too early for flowers in the garden, so I put them on eggs!! Haha!!
DeleteWhat a fun craft. I pinned it, Kim. Thank-you!
ReplyDeleteThanks so much, Ricki Jill! I love being pinned!
DeleteThis crafty judge concurs. They look gorgeous, Kim. So perfect for your space and budget.
ReplyDeleteThank you, Michelle! I'm glad I took the crafty gamble to try to make my own. I'm also glad you like them!
DeleteKim...I just had to come over. This is so beautiful! Your eggs look like a million bucks and so detailed! I wasn't going to mess around with eggs this year, but now I am putting them back in my schedule 😆 ~ Julie redheadcandecorate.com
ReplyDeleteThank you, Julie!! I love my eggs, and they were super easy. If you decide to make them, I promise it won't take long at all!!
DeleteKim, you made the prettiest Easter eggs. I love how easy these are to make and they look just as good as the high-end eggs.
ReplyDeleteThanks Julie!! They were so easy to do and now I have them on my kitchen table so I can see them all day long.
DeleteKim, these are so cute. Atticus and I did a project like this in 2019. We used old sheet music, it really was unique.
ReplyDeleteHappy Spring!!!
Carla
I remember your eggs, Carla! They were lovely. I know I pinned them and always planned on making them. Hmmm. I do have one very large egg left. Maybe I'll cover it with sheet music and display it on top of the piano!!
DeleteKim,
ReplyDeleteThose eggs look like a million bucks, my friend!! So pretty...Thanks so much for all your visits and kind words..Happy Spring!! I am ready to bid Winter adieu even though we did not have that much of a Winter... I hope you are having a good week!!
Hugs,
Deb
Thanks Deb!! I'm so ready for spring, too!!
DeleteKim,
ReplyDeleteSorry but I keep forgetting to change the status of my comments from Anonymous....
Hugs,
Deb
Blogger is a fickle friend, Deb. I totally get it!
DeleteThese are so much fun, Kim. I love oversized craft, they always have such presence, and perfect for the beginning of spring. Like!
ReplyDeleteAmalia
xo
Thank you, Amalia! I guess I can't shake that old saying...go big or go home!! Haha...even in crafting!! xo
DeleteThese are adorable Kim! I'm pinning so I can make a few of my own this season. Your tutorial is so easy to follow too. Thanks so much for sharing!
ReplyDeleteThanks so much for the visit and the comment, Denise!! I really do hope you'll make your own, they really are so easy to do and customize to match your decor. Have a lovely week!!
DeleteThese. Are. FABULOUS! I think that company may have to hire you as a designer!
ReplyDeleteI'm plowing my way through your posts - please don't feel like you have to respond to all of my comments! :)
Happy to respond, Amy!! Your comments make my day and I truly appreciate every one!! Thanks also for your kind words about my eggs. I have to say I was a little worried that I wouldn't be able to come close, but those stickers really did the trick!!
DeleteI love this project, Kim! So creative and elegant! I am excited to feature your post at this week's Tuesday Turn About Link Party. Thank you so much for sharing!
ReplyDeleteOh gosh, Lynne! Thank you so much. You just made my day!! ❤️
DeleteYour posts make for a happy day🌻
DeleteSorry I can’t see pictures.
However, I do follow you 🌻💟♏️
Thanks so much for the follow, I'm so sorry you can't see my pictures. I wonder if there's a blocker on your internet browser that's interfering. I'll try to investigate and reply here if I can find a reason why...Hmmm.
DeleteThese are so pretty!
ReplyDeleteSo pretty! #TalkaboutitTuesday
ReplyDelete